If you’ve ever searched for reliable information on automobile door panel moulds, you’ve probably found two types of content: thin product pages from Chinese manufacturers asking you to “send inquiry,” or generic automotive injection molding overviews that barely mention door panels. Neither helps you actually understand what you’re buying, designing, or specifying.
This guide changes that. Whether you’re a procurement manager evaluating suppliers, a mould design engineer specifying your next project, or a newcomer exploring the automotive parts business, this is the reference you’ll want to bookmark.
We cover everything from steel grades and part materials to cooling channel design rules, cost breakdowns, and supplier evaluation — with real dimensions, engineering specs, and actionable data throughout.
What Is an Automobile Door Panel Mould?
An automobile door panel mould is a precision-engineered steel tool used to mass-produce plastic door panels through the injection molding process. Molten thermoplastic is injected under high pressure into the mould cavity, cooled, and ejected as a finished part that forms part of a vehicle’s interior or exterior door assembly. If you are new to the fundamentals of how these tools are constructed, our overview of what a plastic mold is provides useful background.
Before going further, a critical disambiguation: the word “mould” here refers to the manufacturing tool (the metal die), not the “moulding” or “molding” you see on Amazon — those are the decorative trim strips that go on a car door’s exterior. That confusion pollutes search results constantly, so let’s be clear: this guide is about the steel tooling that produces plastic door panel components.
A typical automobile door panel mould produces parts measuring roughly 800–900 mm in length, 500–720 mm in width, and 90–125 mm in height. The mould itself can weigh 12–20 tons, with overall dimensions around 1,450 × 1,400 × 985 mm for a standard rear door panel tool. These are large, complex moulds by any standard, and they sit among the most technically challenging injection mould categories in the entire automotive sector.
Interior vs. Exterior Door Panel Moulds
Not all door panel moulds are created equal. Interior and exterior panels serve different functions and impose very different requirements on the tooling.
Interior door panels are appearance-critical components. They face the passenger, which means the mould must produce parts with Class A surface quality — often with leather grain texture applied to the cavity. Zero visible weld lines, zero sink marks, and zero flow marks are non-negotiable. These panels typically integrate functional features like speaker grilles, armrest mounting points, storage pockets, and window switch housings, all of which create undercuts that demand sophisticated core-pulling mechanisms in the mould.
Exterior door panels, by contrast, must withstand UV exposure, stone chips, and temperature extremes. The material requirements shift accordingly — from polypropylene-based compounds for interiors to more weather-resistant blends like TPO or PC/ABS for exteriors. The mould must produce parts with tighter dimensional tolerances for panel gap consistency with adjacent body panels.
| Factor | Interior Door Panel Mould | Exterior Door Panel Mould |
|---|---|---|
| Surface Requirement | Class A with leather grain texture | High-gloss or textured, UV-stable |
| Typical Material | PP+T20, PP+EPDM+T20, ABS | TPO, PC/ABS, ASA |
| Number of Undercuts | 7–13 typical | 3–6 typical |
| Weld Line Tolerance | Zero on appearance surfaces | Minimal, less critical |
| Key Integration | Speaker grilles, switch housings, armrests | Trim strips, badge mounting, weatherseal grooves |
Why Door Panels Are Among the Most Challenging Moulds to Design

Door panels present a unique combination of problems that most other automotive parts don’t. First, they have complex, irregular geometry with multiple undercuts — a typical interior door panel has 7 to 13 areas requiring lateral core-pulling, including bayonet-style undercuts and large-angle sliders. Second, the large, flat surface area demands extremely uniform cooling to prevent warpage. Third, the zero-weld-line requirement on appearance surfaces means the gating system must be designed with sequential valve gate technology, which adds cost and engineering complexity. And fourth, integrated features like speaker meshes with hundreds of tiny holes create filling challenges that require specialized mould steel inserts.
None of these challenges are unsolvable. But they do explain why door panel moulds sit at the premium end of the automotive mould market — and why getting the design right from the start matters enormously.
Mould Materials: Steel Grades and Their Impact on Performance
The steel you choose for your door panel mould determines three things: how many parts it can produce before wearing out, the surface quality of every part it produces, and how much you’ll pay upfront. For a deeper dive into the full spectrum of mould steels used across the industry, see our dedicated guide on mould steel selection.
Most automotive door panel moulds use hardened tool steel. The question is which grade, and that depends on your production volume, surface finish requirements, and budget.
Ready to Get an Accurate Quote?
Topworks combines deep injection molding expertise with structured project management — so your next project lands on time, on spec, and on budget.
Steel Grade Selection Guide
P20 (Pre-hardened, 28–32 HRC): The workhorse of automotive mould steel. P20 offers good machinability and adequate wear resistance for production runs up to 300,000–500,000 shots. It’s the most cost-effective option for standard door panels without extreme surface requirements. Most Chinese mould manufacturers default to P20 unless specified otherwise.
H13 (Hardened, 44–52 HRC): When production volumes exceed 500,000 shots or when the mould must endure high clamping forces and thermal cycling, H13 is the standard upgrade. Its superior hot hardness and thermal fatigue resistance make it ideal for high-volume door panel production, as well as for hot runner nozzle seats and high-wear zones. Expect 500,000 to over 1 million shots.
S136 / STAVAX (Hardened, 48–52 HRC): A stainless chromium steel with excellent corrosion resistance and mirror-polishable surface quality. S136 is the go-to choice when the door panel requires a high-polish or mirror finish, or when processing corrosive materials like PVC or certain flame-retardant compounds. Premium priced, but delivers exceptional surface quality and longevity.
NAK80 (Pre-hardened, 37–43 HRC): Offers better polishability than P20 without requiring heat treatment after machining. NAK80 is a popular mid-tier option for door panel moulds that need good surface finish and moderate production volumes (300,000–800,000 shots). Its good weldability also makes it well-suited for moulds that require repair or modification during their service life.
Aluminum 7075-T6: Used exclusively for prototype moulds or very low-volume production (under 10,000 shots). Aluminum’s excellent thermal conductivity results in faster cycle times, but it lacks the wear resistance for sustained production. Some manufacturers use aluminum moulds with bronze inserts at high-wear areas as a hybrid approach for medium-volume specialty vehicles.
| Steel Grade | Hardness (HRC) | Max Shot Count | Polishability | Corrosion Resistance | Cost Tier | Best For |
|---|---|---|---|---|---|---|
| P20 | 28–32 | 300K–500K | Good | Low | $ | Standard production, cost-sensitive projects |
| H13 | 44–52 | 500K–1M+ | Good | Moderate | $$ | High-volume OEM production, hot runner zones |
| S136/STAVAX | 48–52 | 500K–1M+ | Excellent | Excellent | $$$ | High-polish surfaces, corrosive materials |
| NAK80 | 37–43 | 300K–800K | Very Good | Low | $$ | Mid-tier projects needing good finish and weldability |
| Aluminum 7075 | N/A | 5K–10K | Fair | Good | $ | Prototyping, pre-production trials |
Mould Base Standards: HASCO, DME, and LKM
The mould base — the structural frame that holds all cavity inserts, slides, and ejector components — follows industry standards that affect spare part availability and maintenance worldwide.
European OEMs and their Tier-1 suppliers overwhelmingly specify HASCO standards (German origin). North American programs often use DME standards. Asian mould makers frequently use LKM bases (Lung Kee Metal, Hong Kong), which are more cost-effective and widely available in China.
If you’re sourcing a mould from China for a European OEM program, clarify the mould base standard upfront. A mould built to LKM standards may save 10–15% on tooling cost, but replacement components will need to be sourced from Asia rather than from your local HASCO distributor. For long-term production in Europe or North America, specifying HASCO or DME avoids future maintenance headaches.
Part Material Selection: PP, ABS, PC/ABS, and TPO for Door Panels
The plastic resin you inject into the mould doesn’t just determine the finished part’s properties — it directly dictates the mould’s design parameters, including wall thickness rules, gate locations, cooling requirements, and shrinkage compensation.
PP+T20 (Talc-filled Polypropylene): The dominant material for automotive interior door panels worldwide. The “T20” designation means 20% talc filler by weight, which improves stiffness, reduces shrinkage, and lowers cost compared to unfilled PP. Typical shrinkage rate is 1.1–1.3%. Most door panel moulds in production today are designed around this material. Recommended wall thickness 1.2–3.0 mm.
Pure PP (Polypropylene): Used for simpler door panels or budget vehicle programs. Higher shrinkage (1.5%) demands more generous mould compensation and tighter cooling control. Available in multiple colors — some door panels are produced in both beige and black from the same mould.
PP+EPDM+T20: A toughened, talc-filled polypropylene blend with improved impact resistance. Shrinkage rate around 1.3%. Used for door panels requiring higher energy absorption, particularly in side-impact zones. The EPDM rubber phase adds flexibility without sacrificing stiffness.
ABS (Acrylonitrile Butadiene Styrene): Preferred for premium and luxury vehicle interiors where a high-quality, glossy surface finish is essential. ABS offers excellent impact resistance and dimensional stability with much lower shrinkage (0.4–0.7%) than PP, which simplifies mould design but increases material cost. Recommended wall thickness 1.2–3.5 mm. For more on ABS processing specifics, see our guide on ABS injection molding.
PC/ABS Blends: Combine polycarbonate’s heat resistance and strength with ABS’s processability and surface quality. Used in high-end vehicles and for door panel sections near heat sources. More expensive than either material alone, but delivers a balance of performance that pure PP or ABS cannot match. Recommended wall thickness 1.5–3.0 mm.
TPO (Thermoplastic Olefin): The standard for exterior door panel components. Excellent impact resistance, UV stability, and paintability. TPO parts are often painted to match body color, which imposes its own surface quality requirements on the mould.
How Material Choice Affects Mould Design
Material selection cascades into every design decision. Consider shrinkage alone: a PP+T20 door panel with 1.1% shrinkage requires different cavity dimensions than an ABS panel at 0.5%. For a panel measuring 863 mm in length, that’s nearly a 5 mm difference in mould cavity size — significant for fitment with adjacent components. For a comprehensive look at how material types affect final part dimensions, see our article on the impact of plastic material types on injection molded part size.
Wall thickness rules are equally material-dependent. For PP+T20 door panels, the average wall thickness is typically 2.5–3.0 mm. Reinforcement ribs must have a thickness of no more than 0.4–0.6× the adjacent wall (approximately 1.0–1.5 mm at the base for a 2.5 mm wall), and support pillars (bosses) should follow the same ratio — exceeding these limits causes visible surface shrinkage (sink marks) that customers will reject. For ABS, these constraints are more forgiving due to lower shrinkage, but material cost is higher.
Weld line behavior also varies by material. PP tends to produce more visible weld lines than ABS. This is why PP door panel moulds almost universally require sequential valve gate hot runner systems — the gates open and close in a timed sequence to control melt front convergence and push weld lines to non-visible areas.
| Material | Shrinkage Rate | Wall Thickness | Rib Thickness | Surface Finish | Cost/kg | Primary Use |
|---|---|---|---|---|---|---|
| PP+T20 | 1.1–1.3% | 2.5–3.0 mm | ≤0.5× wall (~1.0–1.5 mm) | Textured (grain) | Low | Standard interior panels |
| Pure PP | 1.5% | 2.5–3.0 mm | ≤0.5× wall | Textured | Lowest | Budget interior panels |
| PP+EPDM+T20 | 1.3% | 2.8 mm avg | ≤0.5× wall | Textured | Low-Mid | Impact-rated panels |
| ABS | 0.4–0.7% | 2.0–2.5 mm | ≤0.6× wall | High-gloss possible | Mid-High | Premium interiors |
| PC/ABS | 0.5–0.7% | 2.0–2.5 mm | ≤0.6× wall | High-gloss | High | Luxury vehicles |
| TPO | 1.0–1.5% | 2.5–3.0 mm | ≤0.5× wall | Paintable | Mid | Exterior panels |
Draft Angle Reference
Draft angle is a critical DFM parameter that affects part release and surface quality. For door panels, the following guidelines apply:
| Surface Type | Recommended Draft Angle |
|---|---|
| Standard exterior surface | 0.5–1° |
| Deep cavity / inner wall | 1–2° |
| Textured / grained surface | 1–3° (coarser grain = more draft) |
| High-gloss / mirror surface | 0.25–0.5° |
| Rib side face | 0.5–1.5° |
| Boss outer wall | 0.5–1.5° |
| Boss inner bore | ~0.5° |
Mould Design: Structure, Gating, and Core-Pulling Systems
This is the engineering heart of the door panel mould. The design phase determines whether you’ll get flawless parts at T1 trial or spend six months and six-figure sums chasing defects.
A typical automobile door panel injection mould consists of a fixed mould assembly (cavity side) and a moving mould assembly (core side), with a hot runner system, lateral core-pulling mechanisms, ejector system, and cooling circuits integrated throughout.
For reference, a left rear door panel mould for a mid-size sedan typically has overall dimensions of approximately 1,450 × 1,400 × 985 mm and weighs about 16 tons. The moving and fixed mould plates, along with all inserts, are machined as integrated structures rather than separate cavity blocks inserted into a universal base — this approach yields a more compact mould with better structural rigidity.
Sequential Valve Gate Hot Runner Systems
The gating system is arguably the most critical design element for a door panel mould, because it directly controls weld line formation.
Door panel moulds universally use hot runner systems with sequential valve gates — typically 2-point or 3-point configurations. In a 3-point sequential system, three hot nozzle gates open and close in a precisely timed sequence controlled by hydraulic or pneumatic cylinders. Gate 1 opens first and begins filling the cavity. Before the melt front from Gate 1 reaches Gate 2’s location, Gate 2 opens, and the fresh melt from Gate 2 pushes the approaching melt front away, preventing a weld line from forming at that junction. Gate 3 follows the same principle.
The gate position selection is determined by mould flow analysis software (typically Autodesk Moldflow). The simulation predicts fill patterns, pressure distribution, and weld line locations before any steel is cut. The gate must be positioned in a non-appearance area — typically on the back side of the panel or in a location hidden after assembly, such as beneath an armrest or behind a speaker grille mounting point.
Gate types commonly used include large nozzles (direct gate), submarine gates (diving gates), and fan gates. The choice depends on the specific part geometry and material flow requirements.
Gate Sizing Reference
Gate dimensions directly affect filling balance, weld line formation, and surface quality. The following table provides starting-point dimensions for common configurations:
| Part Wall Thickness T (mm) | Side Gate Depth h (mm) | Side Gate Width b (mm) | Point Gate Diameter d (mm) | Gate Land Length (mm) |
|---|---|---|---|---|
| 0.8–1.5 | 0.6–0.8 | 1.0–1.5 | 0.8–1.5 | 1.0–1.2 |
| 1.5–2.5 | 0.8–1.2 | 1.5–2.5 | 1.0–1.8 | 1.0–1.5 |
| 2.5–4.0 | 1.2–2.0 | 2.5–4.0 | 1.5–2.2 | 1.2–1.8 |
For hot runner valve gate systems on door panels (point gate diameter): small parts 0.8–1.5 mm, medium-to-large parts 1.5–2.5 mm. For glass-fiber reinforced materials (PP+GF, PA+GF), increase gate cross-section by approximately 10% to reduce shear stress and fiber breakage. Gate depth h is the most critical dimension — it controls gate freeze time and pack pressure effectiveness. Gate land length should be kept as short as possible (typically 0.7–1.5 mm) to minimize pressure drop and promote clean gate break.
Lateral Core-Pulling Mechanisms for Undercuts
A typical interior door panel has 7 to 13 undercut features that prevent the part from being ejected straight out of the mould. These undercuts exist wherever the panel has snap-fit clips, screw bosses at angles, or bayonet-style fasteners.
Two primary mechanisms handle these undercuts:
“Inclined guide column + slider” mechanism: Used for large undercuts requiring significant lateral travel. The slider is mounted on the moving mould half and retracts laterally as the mould opens, driven by the angled guide pin on the fixed half. A combined limit clamp and stop block prevents the slider from overtravel. This is the most robust solution for large features like window channel recesses or major clip arrays.
“Inclined push rod + inclined push block” mechanism: Used for smaller undercuts, particularly where space doesn’t permit a full slider mechanism. As the ejector plate advances, the angled push rod converts vertical motion into lateral withdrawal of the push block, releasing the undercut. The critical design rule: the inclination angle of the push rod must not exceed 12°. Exceeding this causes excessive lateral force that can crack the part during ejection.
For a representative rear door panel mould, 10 of 11 core-pulling locations use the inclined push rod mechanism, with only the largest undercut requiring a full slider assembly.
Ejector System Design
The ejector system removes the part from the mould after cooling. For door panels, key design parameters include:
Ejector pins are preferably located on rib backs, boss bases, and structural zones — never on Class A appearance surfaces. For large flat door panel areas, stripper plate ejection distributes the ejection force evenly and eliminates pin witness marks on visible surfaces. Ejection stroke should be sufficient for the part to fully clear the core, plus an additional 1–2 mm safety margin. Multiple small ejector pins distributed symmetrically are preferred over a few large pins concentrated in one area, as asymmetric ejection causes panel distortion.
Minimum clearance between ejector pins and cooling channels: 5 mm. For the large drill runs required in door panel moulds, additional clearance is recommended to guard against drill drift.
Speaker Grille Mesh Moulding
Speaker grilles present a unique challenge. The mesh consists of hundreds of tiny holes (often 2–3 mm diameter) that must fill completely without air entrapment. Standard mould steel cannot vent these micro-features adequately.
The solution is powder metallurgy steel inserts — specialized porous steel that allows trapped air to escape through the steel matrix itself during injection. This effectively eliminates filling defects and weld marks in the mesh area. The speaker mesh is typically formed on the fixed mould half at an angle of approximately 8° to facilitate demoulding.
Cooling System Design: The Most Critical Factor for Quality
Cooling accounts for over 50–70% of the total injection cycle time. More importantly, cooling uniformity determines whether your door panels come out flat or warped, smooth or dimpled with sink marks. Our detailed article on injection mould cooling system design covers the underlying principles that apply across all mould types.
Door panel moulds use a combination of straight-through water pipes, inclined water pipes, and water wells (baffles). The design priority hierarchy is: use straight-through pipes wherever possible, supplement with inclined pipes where geometry prevents straight runs, and resort to water wells only as a last option. This hierarchy exists because straight pipes provide the most uniform, predictable cooling, while water wells create more turbulent and less controllable heat extraction.
Cooling channel diameter: For door panel moulds, 8–12 mm diameter channels are standard for main cavity circuits (large moulds commonly use 10–12 mm). Water wells (baffles) used in deep core areas and boss zones typically range from 8–16 mm in diameter. Channels smaller than 6 mm risk insufficient heat extraction and high pressure losses; channels larger than 14 mm in most cavity areas reduce the number of circuits that can be fit within available steel.
A rear door panel mould might use five independent cooling circuits on the moving mould side and four on the fixed side, with each circuit having its own inlet and outlet to allow independent temperature control.
The 8 Rules of Door Panel Mould Cooling Design
These rules are distilled from established industry practice in automotive interior and exterior mould design. They apply equally to bumpers, dashboards, and other large aesthetic parts.
Rule 1: Cooling water flow direction should follow the material flow direction. As a general rule, the entering cooling water should be brought first close to the gate area, where the hottest plastic is introduced. This ensures the most active heat removal occurs where the thermal load is highest.
Rule 2: Fixed and moving mould cooling channels should be arranged in a cross-grid pattern where possible. The interweaving network distributes cooling evenly across the entire cavity surface.
Rule 3: When a cross-grid layout isn’t feasible, arrange fixed and moving mould channels in alternating gaps — the fixed mould channel should sit between two moving mould channels and vice versa.
Rule 4: Each cooling circuit should contain no more than four loop passes. Longer circuits cause excessive temperature rise between inlet and outlet, creating temperature gradients across the part surface. The inlet-to-outlet temperature differential should be kept to 2–4°C, and must not exceed 5°C — a larger differential indicates insufficient flow rate or an overly long circuit, both of which cause non-uniform cooling and warpage.
Rule 5: Design cooling channels with external pipe connection capability for post-trial adjustment. This allows you to reroute or combine water circuits to solve warpage or shrinkage issues discovered during T1 trials — a technique widely used in automotive mould optimization.
Rule 6: Spacing and depth should follow the established proportional rules. Channel spacing (center-to-center between adjacent channels): 2–3× the channel diameter, typically 40–60 mm. Distance from channel centerline to cavity surface: 1.5–2× the channel diameter, typically 15–20 mm for standard door panel wall thicknesses. These ratios balance cooling uniformity against mould plate structural integrity — closer channels improve uniformity but reduce steel strength; further channels maintain strength but create temperature “waves” between channels.
Rule 7: Maintain at least 5 mm clearance between cooling channels and any ejector pins, inclined push rods, or inserts (for large door panel moulds with long drill runs, 8 mm or more is advisable). Because door panel moulds are large and require long drill runs, drill bit drift is common — sufficient clearance prevents catastrophic water leaks into the ejector system.
Rule 8: The hot runner nozzle area must have its own dedicated cooling circuit, separate from the cavity cooling. Never connect hot nozzle cooling in series with other circuits — the nozzle area requires independent temperature management.
Cooling System Reference Data by Material
Different materials require different mould temperatures and cooling parameters. The following table provides working reference values for the most common door panel materials:
| Material | Typical Mould Temperature (°C) | Coolant Flow per Circuit (L/min) | Cooling Time Reference (3 mm wall) |
|---|---|---|---|
| PP / PP+T20 | 40–60 | 15–25 | 15–20 s |
| ABS | 50–70 | 20–30 | 18–25 s |
| PC/ABS | 60–80 | 20–30 | 20–30 s |
| PC | 80–110 | 20–30 | 25–35 s |
| PA (with GF) | 60–90 | 20–30 | 20–30 s |
To achieve effective turbulent heat transfer, the Reynolds number in each cooling circuit should exceed 10,000 — corresponding to a coolant flow velocity of approximately 0.5–2.0 m/s (for small-diameter channels, targeting ≥0.8 m/s is advisable). Cooling time scales approximately with the square of wall thickness: if a 2 mm wall requires 10 seconds, a 4 mm wall of the same material will require approximately 40 seconds.
Conformal Cooling vs. Conventional Channels
Conformal cooling channels follow the 3D contour of the part surface rather than running in straight lines. Produced via additive manufacturing (metal 3D printing), conformal channels extract heat more uniformly from complex geometries.
For door panel moulds, conformal cooling is particularly valuable in deep boss areas, thick-section pillar zones, and around speaker grille inserts — locations where conventional drilled channels can’t reach effectively. Industry data shows that conformal cooling inserts can reduce peak part temperatures by approximately 50% compared to conventional channels, and reduce overall warpage from around 1.9 mm to 0.3 mm in comparable applications. The drawback is cost: conformal cooling inserts can add 20–40% to the mould price for those specific areas. However, the payback often comes through shorter cycle times (10–25% reduction) and fewer defective parts.
Common Defects in Door Panel Moulds and How to Prevent Them
Every defect in a finished door panel traces back to a design decision, process parameter, or maintenance failure in the mould. Here are the most common issues specific to door panel production.
| Defect | Root Cause | Prevention Strategy | Detection Method |
|---|---|---|---|
| Sink marks | Rib or boss wall too thick (exceeds 0.5–0.6× adjacent wall) | Keep rib/boss thickness ≤ 0.5× nominal wall; add radius at base (R ≈ 0.25–0.4× wall) | Visual inspection under raking light; CMM measurement |
| Weld lines on appearance surface | Multiple melt fronts converging on visible areas | Sequential valve gate timing optimization; Moldflow simulation to predict and relocate weld lines | Visual inspection; weld line must be in non-appearance zone or customer-approved |
| Warpage/distortion | Uneven cooling across part surface; inlet-outlet ΔT >5°C | Cross-grid cooling layout; maintain ΔT ≤2–4°C per circuit; increase flow rate | CMM scanning vs. CAD nominal; fixture check |
| Short shots in speaker mesh | Trapped air in micro-features | Powder metallurgy (porous steel) inserts for mesh areas; adequate venting | 100% visual inspection of mesh fill |
| Flash at parting line | Excessive injection pressure or worn mould surfaces | Proper clamp force calculation; regular parting line maintenance; check mould alignment | Visual and tactile inspection of parting edges |
| Surface flow marks | Melt temperature too low or injection speed too slow | Optimize melt temperature and injection speed profile; ensure uniform mould temperature | Visual inspection under controlled lighting |
| Part sticking to mould | Insufficient draft angle or excessive undercut grip | Minimum 0.5–1° draft on standard surfaces, 1–3° on textured; verify demoulding angles in CAD; adequate ejector force | Monitor ejection force; visual check for drag marks |
| Burn marks | Air trapped in dead-end fill zones | Add venting at last-to-fill locations; reduce injection speed at end of fill | Visual inspection; typically at extremities of part |
| Ejector pin witness marks | Insufficient ejector surface area or asymmetric ejection | Distribute ejector pins symmetrically; use stripper plate for large flat areas; ensure 1–2 mm safety over-stroke | Visual inspection of ejector zone on Class B surface |
For a broader reference on diagnosing and fixing these and other production problems, our injection molding defect troubleshooting guide is a useful companion resource.
The Value of Mold Flow Analysis
Mould flow simulation (Autodesk Moldflow, Moldex3D, or similar) is not optional for door panel moulds — it’s a cost-saving necessity. Critically, simulations that exclude cooling channel geometry are incomplete: the cooling system directly affects fill pattern, shrinkage distribution, and warpage, and “hot spots” identified only through thermal simulation are often the root cause of extended cycle times and defect clusters. To understand when simulation is truly mandatory and when it can be skipped, see our analysis of when moldflow analysis is mandatory and when to skip it.
A typical simulation package costs $5,000–$15,000 and takes 1–2 weeks. It predicts fill pattern, pressure distribution, weld line locations, air traps, cooling efficiency, shrinkage, and warpage — all before a single gram of steel is machined.
Without simulation, you’re gambling $50,000–$150,000+ on the mould and hoping the design works. The first trial (T1) becomes your experiment, and every correction requires steel modification — grinding, welding, re-machining — at $5,000–$20,000 per iteration. Most well-run mould shops achieve first-shot success at T1 when simulation is used properly, versus 2–3 trial iterations without it.
Mould Manufacturing Process: From DFM to T1 Trial
Understanding the manufacturing timeline helps you plan your production schedule and set realistic expectations with your mould supplier.
Weeks 1–2: DFM Review and Mould Flow Analysis
The manufacturer receives your 3D part data (STEP or IGES format) and performs a Design for Manufacturability review. They identify potential issues — draft angles, undercut locations, wall thickness variations — and propose modifications. Simultaneously, mould flow analysis begins.
Weeks 2–4: Mould Design and Approval
Using UG (NX), Pro/E (Creo), or SolidWorks, the manufacturer designs the complete mould in 3D. This includes cavity/core layout, parting surface, gating system, cooling channels, ejector layout, and all core-pulling mechanisms. You receive a design review package for approval before manufacturing begins.
Weeks 4–8: Steel Procurement and CNC Machining
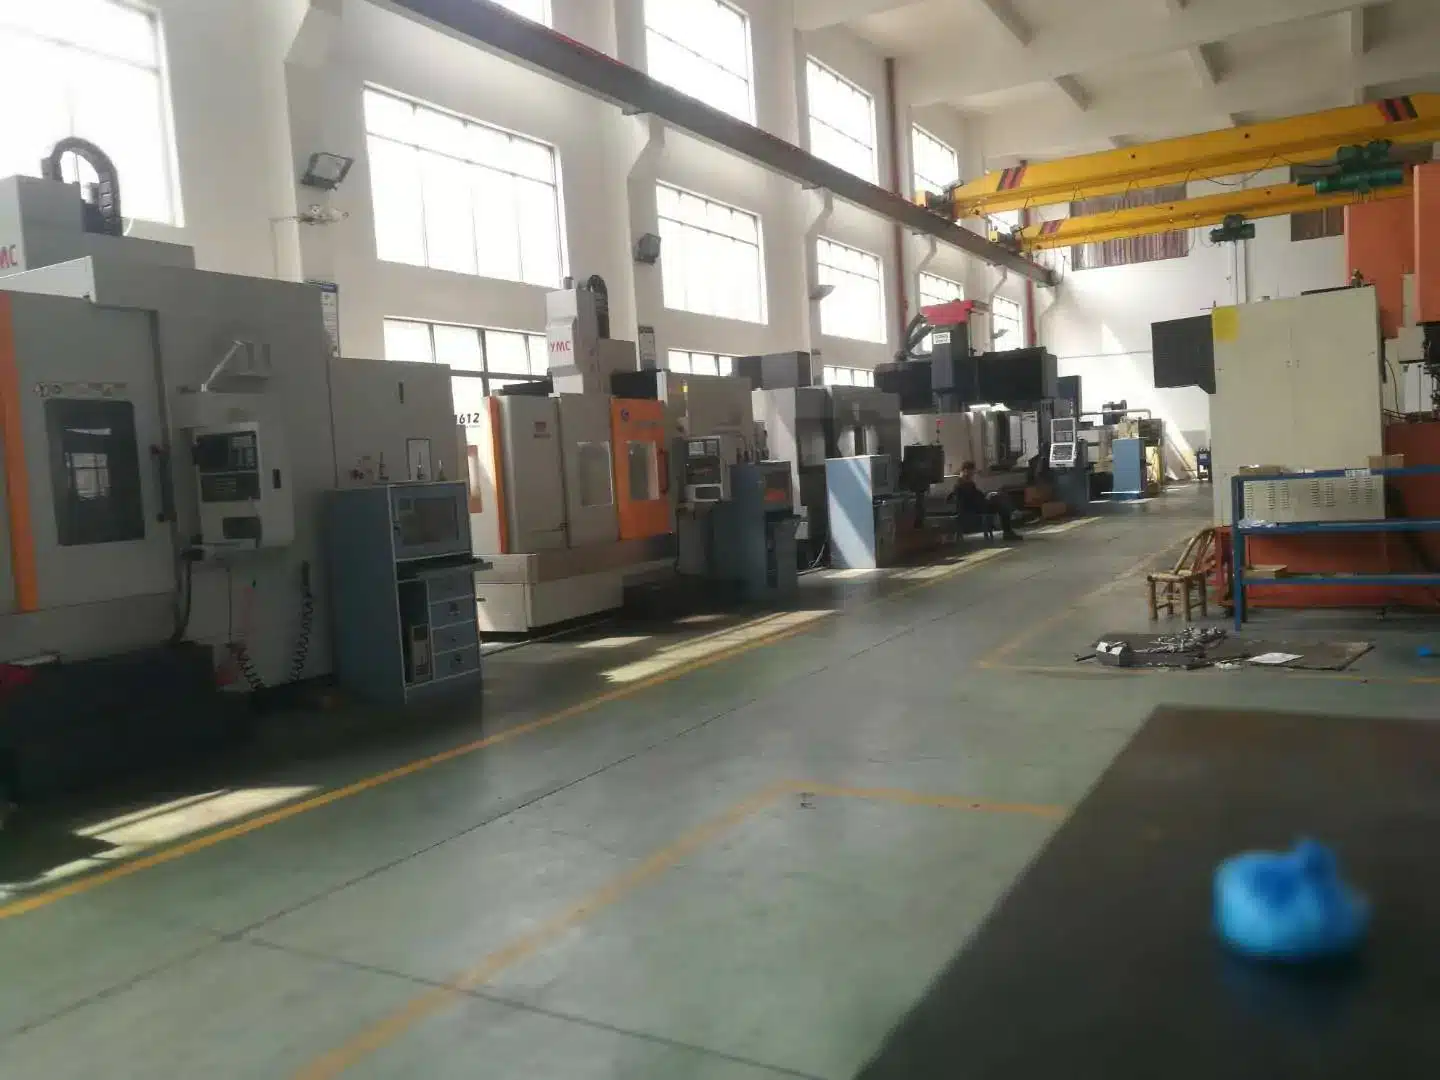
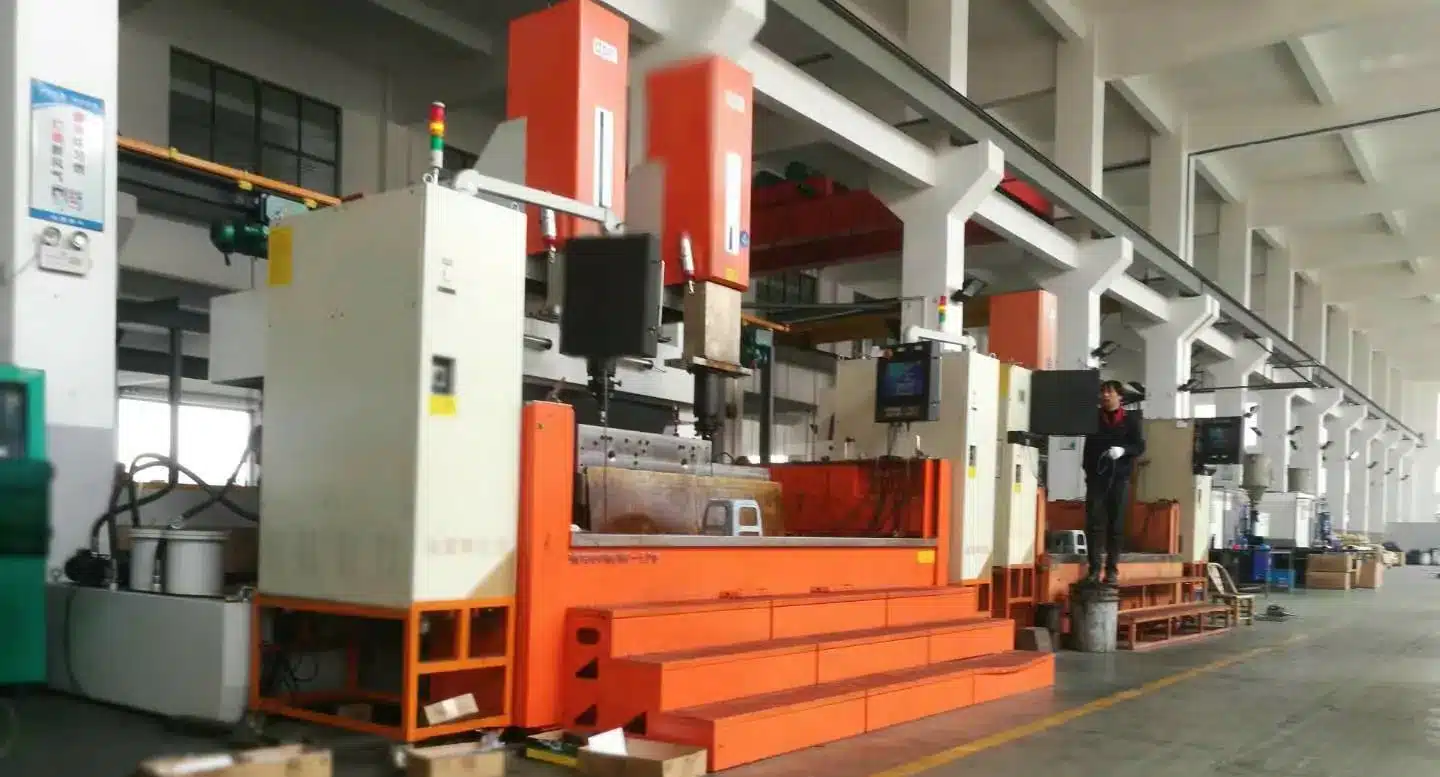
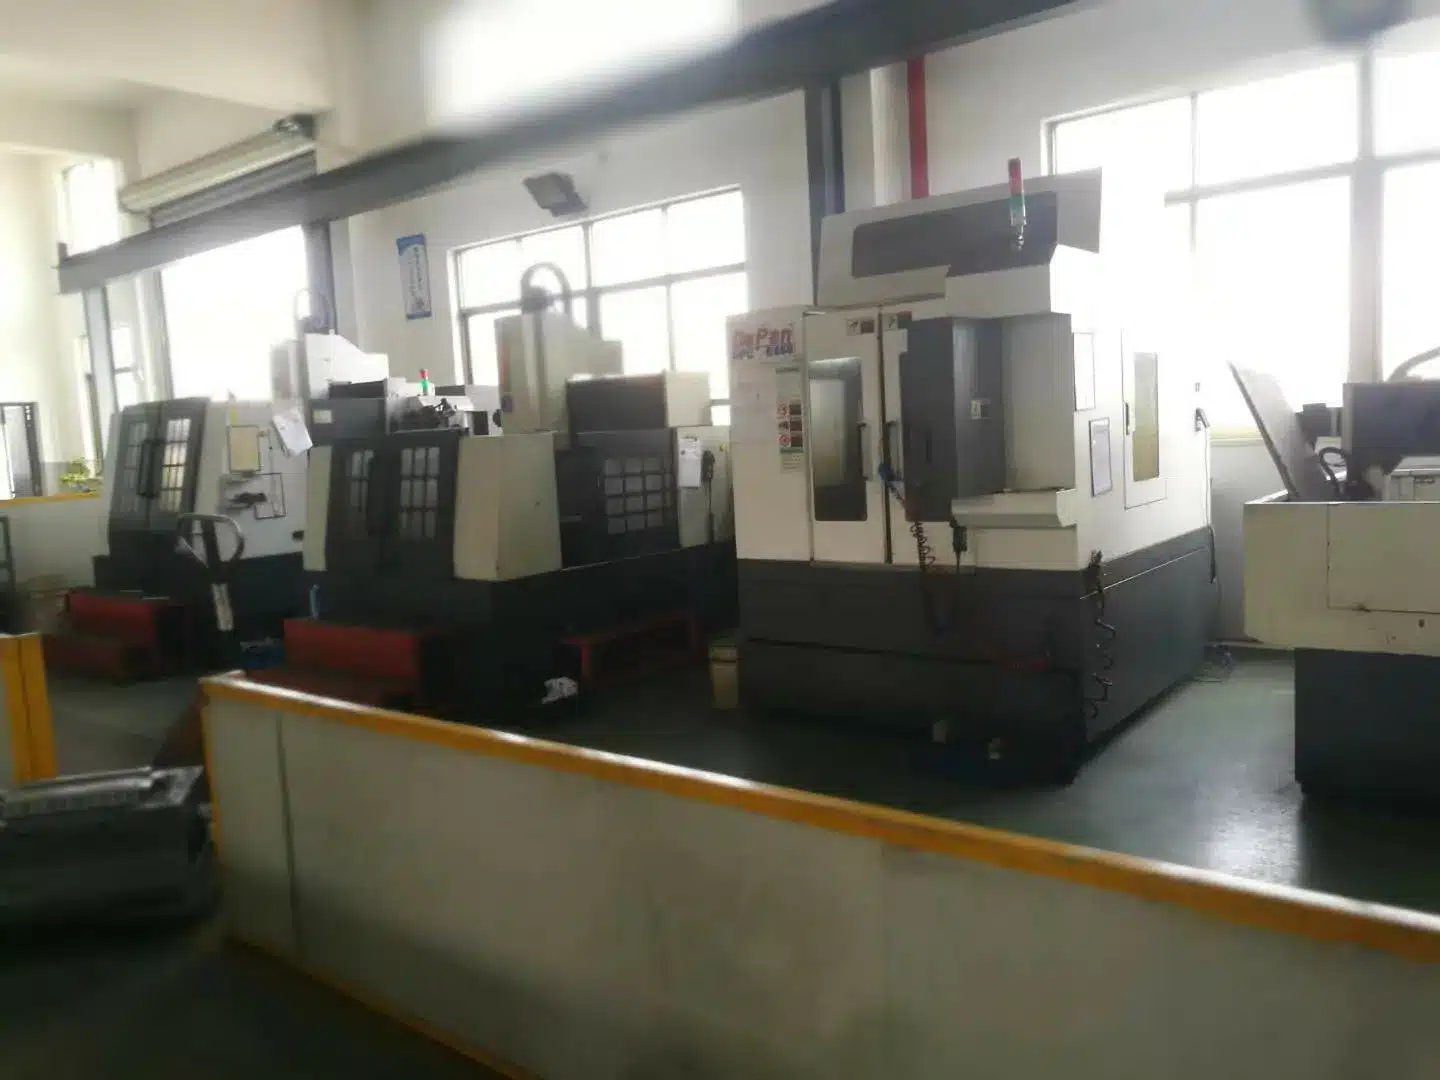
Mould base and cavity blocks are sourced and rough-machined by CNC. For a door panel mould weighing 16 tons, this phase involves multiple large CNC machining centers running around the clock. High-speed carving handles fine details and surface contours.
Weeks 8–10: EDM, Wire Cutting, and Finishing
Electrical discharge machining (EDM) creates features that CNC cannot reach — deep ribs, sharp internal corners, and micro-features. Wire cutting produces slider profiles and insert geometries. Hand polishing and fitting bring all components to final tolerance.
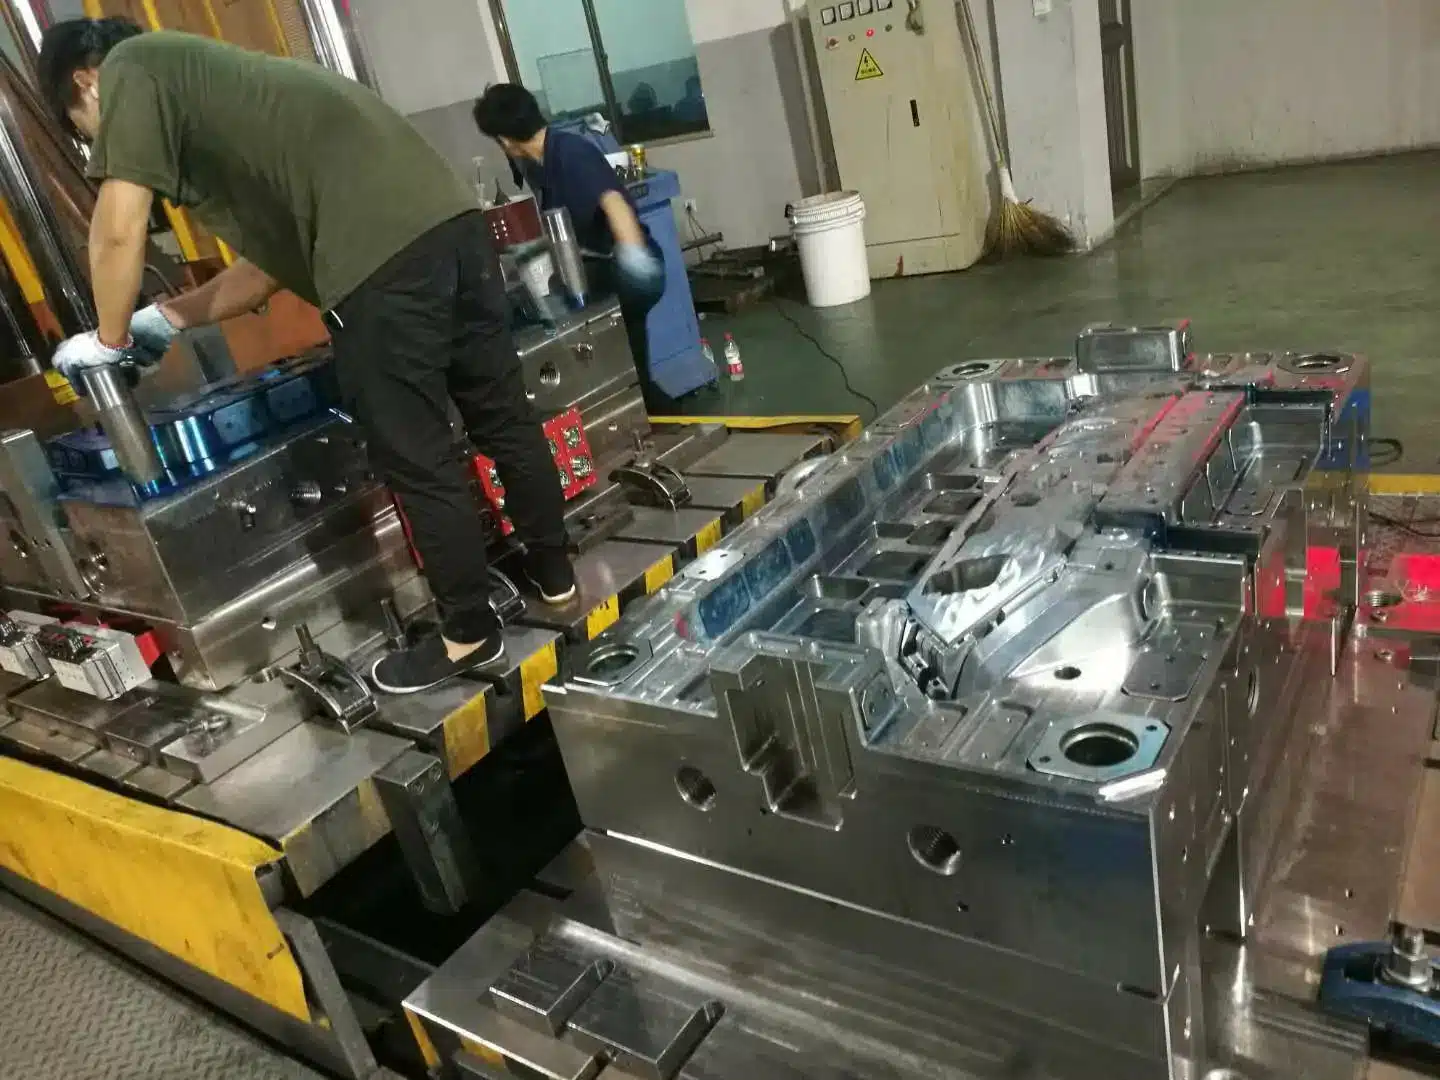
Weeks 10–12: Assembly, T1 Trial, and Optimization
The mould is assembled, mounted on an injection molding machine (typically 1,600–2,500 ton clamping force for door panels), and run through its first trial. Sample parts are measured against specifications, and adjustments are made to gate timing, cooling parameters, and mechanical fit.
Weeks 12–14: Texture Application and Final Approval
Once dimensional and structural approval is obtained, the mould cavity receives its final surface texture — typically leather grain or geometric pattern applied via chemical etching. A final trial confirms that texture quality meets OEM standards. The mould is then packed in a wooden crate and shipped.
Total timeline: 12–16 weeks for a standard door panel mould. Complex programmes with multiple engineering changes can extend to 20+ weeks.
Cost Factors: What Drives the Price of a Door Panel Mould?
This is the question everyone asks and nobody in the SERP answers. Here’s what you actually need to know.
A standard automobile interior door panel mould ranges from approximately $35,000 to $80,000 when sourced from China. High-complexity moulds with multiple slides, conformal cooling, and premium steel grades can reach $100,000–$150,000+. Sourcing the same mould from Western Europe or North America typically costs 2.0–2.5× the China price — putting the range at $70,000–$200,000+. For a thorough breakdown of the full cost picture, our comprehensive guide to mastering injection molding costs covers variables from tooling to per-part production economics.
What Drives the Price Up or Down
Mould size and weight: A rear door panel mould (16+ tons) costs more than a smaller front panel tool (10–12 tons). Steel costs scale roughly linearly with weight.
Number of undercuts/sliders: Each lateral core-pulling mechanism adds design complexity, machining time, and assembly effort. A mould with 13 undercuts costs significantly more than one with 5.
Steel grade: Moving from P20 to H13 adds 15–25% to material costs. S136/STAVAX adds 30–50%.
Hot runner system: A 3-point sequential valve gate system from a premium supplier (Yudo, Synventive, HRSflow) can cost $8,000–$20,000 as a component alone.
Surface finish requirements: Leather grain texture application is an additional cost. VDI/Mold-Tech texture patterns require chemical etching by specialized subcontractors, adding $3,000–$8,000 depending on surface area and pattern complexity.
Cavitation: Most door panel moulds are single-cavity (one part per cycle) due to the part’s large size. If you need a family mould (left + right panels in one tool), the cost roughly doubles.
Typical Cost Allocation
For a representative $60,000 door panel mould sourced from China, costs break down approximately as follows: raw steel accounts for roughly 25% of the total; CNC machining, EDM, and wire cutting represent about 35%; the hot runner system takes about 15%; engineering design and simulation make up about 10%; surface finishing, texture, and polishing run about 10%; and assembly, trial, and quality inspection account for the remaining 5%.
China vs. Western Sourcing: The Real Comparison
| Factor | China Sourcing | Western Sourcing (EU/NA) |
|---|---|---|
| Tooling Cost | $35K–$80K (standard) | $70K–$200K+ |
| Lead Time | 12–16 weeks | 16–24 weeks |
| Communication | Time zone challenges; language barriers possible | Easier; same business hours |
| IP Protection | Risk exists; use NDAs and legal frameworks | Generally stronger |
| Quality Consistency | Varies widely by supplier; due diligence critical | More predictable |
| Travel for Inspection | Required; budget $3K–$5K per trip | Usually driveable |
| Shipping (16-ton mould) | Sea freight: $2K–$5K, 4–6 weeks transit | Truck: $1K–$3K, 1–2 days |
| Ongoing Support | Harder for mould corrections/maintenance | Local support available |
The 30–50% cost advantage of China sourcing is real, but it must be weighed against communication overhead, travel costs, IP exposure, and the practical challenges of shipping a 16-ton steel tool across an ocean. For many automotive programmes, the right answer is sourcing the mould from China with third-party inspection at key milestones, and maintaining a local tooling partner for ongoing maintenance and minor corrections.
How to Evaluate and Select a Door Panel Mould Supplier
Your mould supplier will be your partner for 6–12 months during tooling development and potentially years during production support. Choosing poorly is extremely expensive to correct — tool transfers between manufacturers are slow, costly, and always lose something in translation.
The 10-Point Supplier Evaluation Checklist
- Certifications:IATF 16949 is the minimum for automotive work. ISO 9001 alone is insufficient. Ask for a copy of the certificate and verify it’s current.
- Automotive track record: Ask for a list of OEM or Tier-1 customers. A supplier building moulds for household goods doesn’t automatically qualify for automotive tolerances. Request references you can contact.
- Door panel experience specifically: Large-panel mould design requires specific expertise in sequential valve gating, multi-slider mechanisms, and cooling system design. Ask how many door panel moulds they’ve built in the past 3 years.
- Design capability: Do they have in-house Moldflow capability, or do they outsource simulation? In-house is strongly preferred — it enables faster iteration during design optimization.
- Machine capacity: Door panel moulds require large CNC machining centers. Ask about maximum workpiece size, EDM capacity, and trial press tonnage (minimum 1,600T for door panels).
- Steel sourcing transparency: Request mill certificates for all cavity steel. Some suppliers substitute cheaper steel without disclosure. Specify steel grades in your purchase order and verify at incoming inspection.
- Project management structure: You should have a dedicated project manager and receive weekly progress reports with photos. Ask to see a sample project timeline from a previous programme.
- Trial and measurement capability: Do they have CMM (coordinate measuring machines) on-site? What measurement reporting format do they use? PPAP documentation should be standard.
- After-sales support: What’s the warranty period? What’s the response time for engineering changes? How do they handle mould corrections discovered after shipment?
- Financial stability: For significant tooling investments, verify the company’s financial health. Request business registration documents and bank references.
RFQ Best Practices
When issuing your Request for Quote, provide complete 3D part data (STEP format), a 2D drawing with GD&T callouts, material specification, annual volume forecast, and target cycle time. Specify the mould base standard, steel grade expectations, hot runner brand preference, and surface texture requirements.
Structure payment terms around verifiable milestones — a common arrangement is 30% at order, 30% at design approval, 30% at T1 trial, and 10% at final acceptance and shipment. Never pay 100% upfront regardless of how compelling the discount appears.
Maintenance, Lifespan, and Mould Life Extension
A well-maintained door panel mould is a production asset that can operate for years. A neglected one becomes a defect generator and a safety hazard.
Expected Mould Life by Steel Grade
| Steel Grade | Expected Shot Count | Typical Service Life at 500 parts/day |
|---|---|---|
| P20 | 300K–500K | 2.5–4 years |
| H13 | 500K–1M+ | 4–8+ years |
| S136 | 500K–1M+ | 4–8+ years |
| Aluminum 7075 | 5K–10K | Prototype/trial only |
Maintenance Protocol
After every production shift: Clean all cavity surfaces with compressed air and soft brushes. Remove residual plastic, release agent buildup, and flash from parting surfaces. Use non-abrasive solvents compatible with the mould steel — never use wire brushes or abrasive pads on polished surfaces.
Weekly: Flush all cooling circuits to prevent scale buildup and blockage. Inspect all sliding components (sliders, inclined push rods, guide pins) for wear and lubricate per specification. Check ejector pin alignment and function.
Monthly: Perform dimensional inspection of critical cavity surfaces. Look for signs of wear, erosion, or micro-cracking at high-stress zones (gate areas, parting line edges, rib intersections). Inspect and re-torque all fasteners.
Annually: Full mould disassembly, deep cleaning, and comprehensive inspection. Replace worn components (ejector pins, O-rings, springs). Re-polish cavity surfaces if texture degradation is observed. Update maintenance records.
Storage Best Practices
When a mould goes into storage between production campaigns, apply a corrosion inhibitor to all steel surfaces, drain and blow out all cooling channels, and store in a climate-controlled environment. The ideal storage condition is 40–60% relative humidity at a stable temperature. A 16-ton mould left in a humid warehouse for six months can develop pitting corrosion that ruins the cavity surface. Anti-adhesive coatings (such as nickel-based internal channel coatings) can help prevent deposit buildup in cooling circuits during periods of extended use, extending the interval between descaling maintenance.
Industry Trends: EV Door Panels, Lightweighting, and Smart Interiors
The automotive industry’s shift toward electric vehicles, connectivity, and sustainability is reshaping door panel mould requirements in several meaningful ways.
Larger and more complex panels: Some EV designs eliminate the traditional B-pillar, creating door panels that span a larger area and incorporate more structural responsibility. This increases mould size and complexity.
Integrated electronics: Modern door panels increasingly embed capacitive touch surfaces, ambient lighting channels, and sensor housings directly into the moulded part. These features require tighter tolerances and multi-material moulding techniques (such as overmoulding or insert moulding). Overmould covering thickness should be at least 0.8–1.0 mm for grip or seal applications; metal insert encapsulation requires at least 0.6–0.8 mm of plastic coverage in standard directions and 1.0 mm or more in primary load directions.
Lightweighting pressure: Every gram of interior weight reduction extends EV range. Glass-fiber reinforced PP (PP+GF) and even carbon-fiber-reinforced compounds are being explored for door panels, though cost remains a barrier. Foamed injection molding (MuCell technology) reduces part weight by 10–15% by introducing microcellular structure into the panel, which also demands modified mould venting and pressure control.
Sustainability requirements: OEMs are increasingly requiring recycled content in interior plastics. Moulds must be designed to process post-consumer recycled (PCR) PP, which has more variable flow characteristics than virgin material. This places additional demands on gate sizing, venting, and process window robustness.
Smart manufacturing integration: Industry 4.0 sensors embedded in moulds (cavity pressure sensors, temperature probes, cycle counters) provide real-time data for predictive maintenance and process optimization. These sensors must be integrated during mould design, not retrofitted. Cavity temperature sensors near the end of the flow path can enable automated sequential gate control — automatically adjusting individual nozzle timing to maintain consistent cavity filling regardless of process fluctuations.
Frequently Asked Questions
What is an automobile door panel mould?
It’s a precision steel tool used in injection molding to mass-produce the plastic panels that form a vehicle’s door interior or exterior. Typical moulds weigh 12–20 tons and can produce 300,000 to over 1 million parts over their lifetime.
How much does a car door panel mould cost?
Prices range from $35,000–$80,000 when sourced from China, and $70,000–$200,000+ from European or North American manufacturers. Key cost drivers include mould size, number of undercuts, steel grade, and hot runner system complexity.
What steel is best for automotive door panel moulds?
P20 (28–32 HRC) is the standard for production up to 500,000 shots. H13 (44–52 HRC) is preferred for high-volume OEM production exceeding 500,000 shots. S136 (48–52 HRC) is used when superior surface quality or corrosion resistance is required. NAK80 (37–43 HRC) is a popular mid-tier choice when good finish, moderate volume, and weld repair capability are all needed.
What is the difference between PP and ABS for car door panels?
PP (especially PP+T20) is lighter, cheaper, and dominates standard vehicle interiors. ABS offers better surface finish and dimensional stability for premium vehicles but costs more and is heavier. Shrinkage rates differ significantly (PP: 1.1–1.5% vs. ABS: 0.4–0.7%), which affects mould cavity dimensions.
How long does it take to manufacture a door panel mould?
Standard timeline is 12–16 weeks from order to shipment. This includes DFM review (1–2 weeks), design (2–4 weeks), machining (4–6 weeks), finishing and assembly (2–3 weeks), and trial/approval (1–2 weeks).
How many shots can a door panel mould produce?
Depending on steel grade and maintenance: P20 moulds last 300,000–500,000 shots, H13 moulds deliver 500,000–1,000,000+ shots. Proper maintenance and timely component replacement can extend lifespan significantly.
What causes weld lines on car door panels?
Weld lines form where two melt fronts converge during cavity filling. They’re prevented through sequential valve gate hot runner systems that time gate opening to control melt front progression, pushing convergence points to non-visible areas of the panel.
How do you design cooling channels for a large door panel mould?
Use the proportional rules as your starting point: channel diameter 8–12 mm (10–12 mm for large moulds), spacing 2–3× diameter (40–60 mm center-to-center), and distance from cavity surface 1.5–2× diameter (15–20 mm). Keep inlet-to-outlet temperature differential at 2–4°C and not more than 5°C. Design water flow direction to follow material flow direction for optimal heat extraction. Maintain at least 5 mm clearance from ejector components, and give the hot runner nozzle zone its own independent circuit.

