Injection Molding Cost:
Complete Guide + Calculator
Injection molding cost typically ranges from $1,000 to $100,000+ for tooling, and $0.10 to $10 per part, depending on material, production volume, part complexity, wall thickness, gate design, and cooling strategy. This guide breaks down every cost driver — with engineering data you can act on.
Injection Molding Cost Breakdown
The total cost of an injection-molded part is the sum of four layers: tooling amortization, raw material, machine processing, and secondary operations. At low volumes, tooling dominates. At high volumes, material and cycle time take over.
Injection Molding Cost Calculator
Use the calculator below to estimate your per-part cost based on tooling investment, production volume, material, and cycle time. Adjust inputs to model different scenarios — higher volume, lighter wall thickness, or a second cavity cavity cavity can all shift the economics significantly.
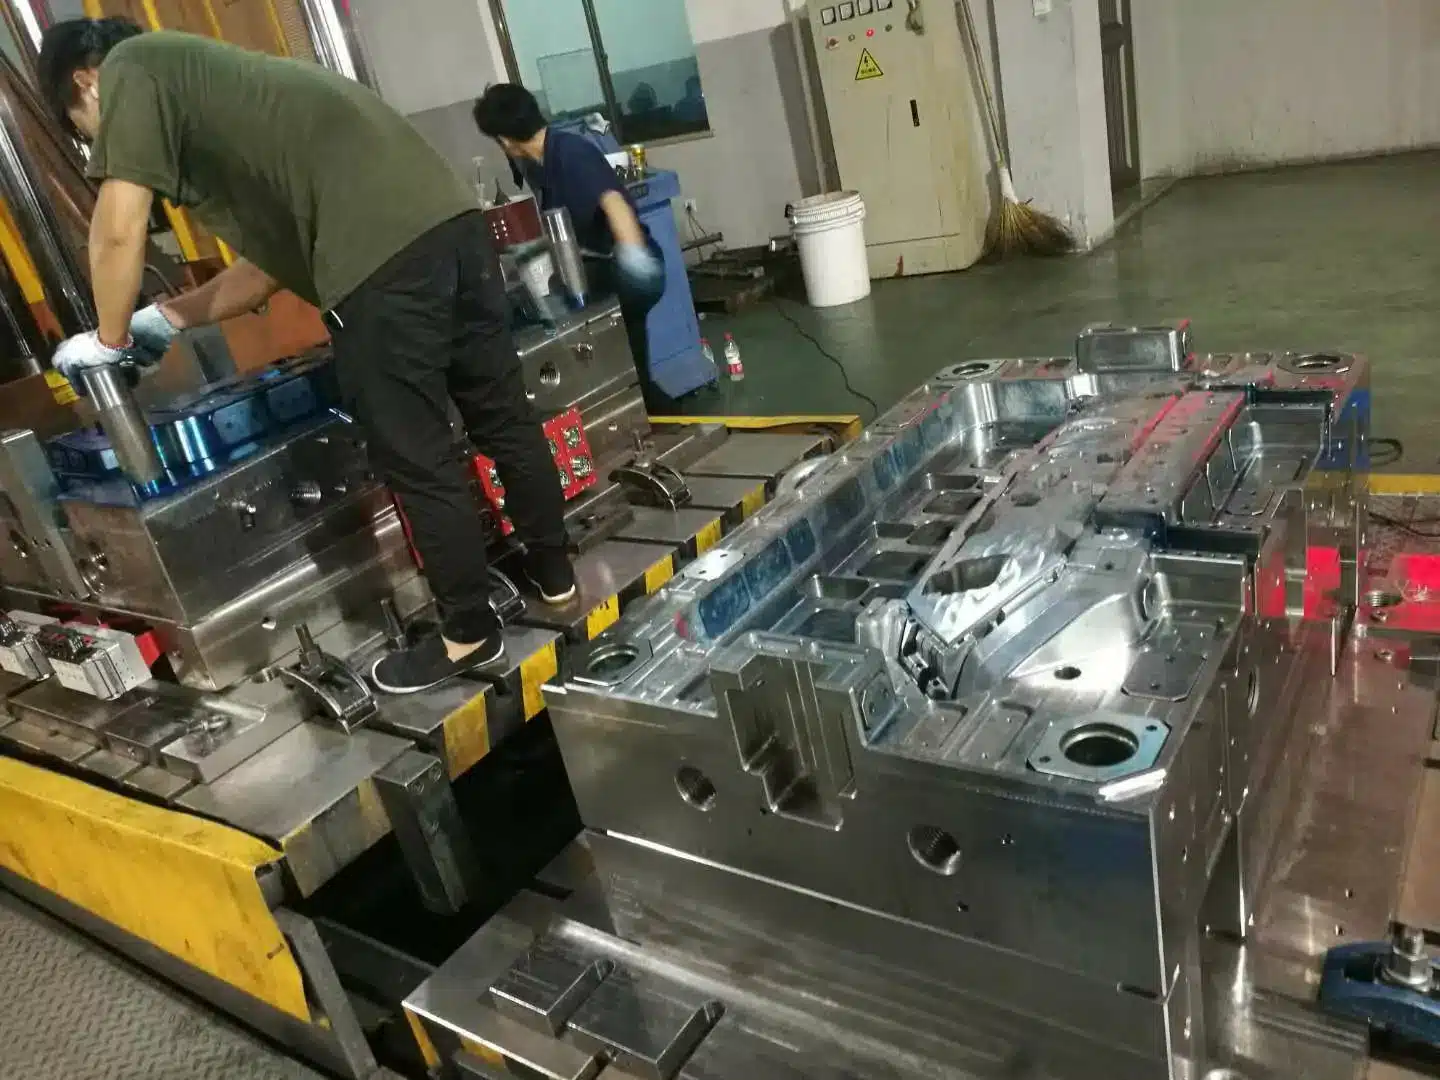
Injection molding cost breakdown
How to use the Comparison Tool:
- Enter your initial production parameters and click "Save as Scenario A".
- Adjust specific variables (e.g., reducing Cycle Time from 35s to 25s) and click "Save as Scenario B".
- Click "Compare A vs B" to visualize the Total Unit Cost difference and detailed breakdown.
Gain Instant Cost Insights
Use our "Scenario Comparison" feature to benchmark production strategies. By saving different setups, you can visualize how small changes in Cycle Time or Machine Rates impact your bottom line. Our dynamic charts allow you to optimize your sourcing strategy before cutting steel.
Enter parameters to calculate real-time costs with what-if comparison
Scenario comparison
| Cost item | Scenario A | Scenario B |
| Material | - | - |
| Processing | - | - |
| Scrap loss | - | - |
| Pkg & logistics | - | - |
| Total | - | - |
| Variance | - | |
How costs are calculated
Processing = Rate/3600 × Cycle ÷ Cavities
Scrap = Base × ScrapRate ÷ (1-ScrapRate)
Total = Sum of all costs
| Cost Factor | Typical Range | Notes |
|---|---|---|
| Tooling (mold) cost | $1,000 – $100,000+ | Single cavity; complex multi-cavity molds cost more |
| Material cost | $1 – $5 per kg | PP/ABS on low end; GF-reinforced engineering resins higher |
| Cycle time | 10 – 60 seconds | Cooling is 50–70% of cycle |
| Production volume | 1,000 – 1,000,000+ units | Tooling amortizes over volume |
| Labor & overhead | 10% – 30% of processing cost | Varies by region and automation level |
Injection Molding Cost Formula
The standard per-part cost model used across the industry:
Cost per Part = (Tooling Cost ÷ Quantity) + Material Cost + Processing CostFor a quick budget estimate, plug in your tooling quote, planned volume, and shot weight. Machine processing cost is typically $0.05–$0.30 per part for standard cycle times on mid-size machines.
Real Cost Example
Scenario: 10,000 ABS plastic parts
- Tooling cost: $8,000 → $0.80 per part amortized
- Material cost: $0.50 per part (ABS at ~$1.8/kg, ~280 g shot)
- Processing cost: $0.20 per part (25-second cycle, standard machine)
Total ≈ $1.50 per part — scale to 100,000 units and tooling drops to $0.08/part, cutting total cost below $0.80.
Part Design (DFM) and Its Direct Cost Impact
Design-for-manufacturing decisions made early in the product phase have the largest lever on final cost. The following parameters, drawn from proven DFM engineering guidelines, directly affect material consumption, cycle time, tooling complexity, and rejection rate.
Wall Thickness — The #1 Cost Driver
Wall thickness controls material usage, cooling time, and sink risk. Thicker walls require longer cooling cycles and increase material cost per part. The recommended ranges by resin are:
| Material | Recommended Wall Thickness |
|---|---|
| PP | 1.2 – 3.0 mm |
| ABS | 1.2 – 3.5 mm |
| PC | 1.0 – 3.0 mm (transparent: ~2.0 mm) |
| PC/ABS | 1.5 – 3.0 mm |
| PA66 GF | 1.5 – 3.0 mm |
| General range | 0.8 – 3.0 mm |
Wall thickness variation within one part should stay within ±25% of the nominal thickness. Sudden changes cause sink marks, warpage, and fill imbalance — all of which drive up scrap rates and cost.
Ribs and Bosses — Hidden Sink Cost
Ribs and bosses are the most common source of sink marks when oversized. Following these ratios keeps tooling rework to a minimum:
- Rib thickness: 0.4–0.6 × nominal wall thickness (50–60% rule)
- Rib height: ≤ 2.5–3 × wall thickness
- Rib spacing: ≥ 2 × wall thickness
- Rib root radius: R ≈ 0.25–0.4 × wall thickness
- Boss outer wall: 0.4–0.6 × surrounding wall thickness
- Boss root radius: R ≈ 0.25 × wall thickness
Draft Angle — Tooling and Ejection Cost
Insufficient draft forces toolmakers to add costly lifters or collapsing cores. Recommended draft angles by surface type:
| Surface Type | Draft Angle |
|---|---|
| General exterior surfaces | 0.5 – 1° |
| Deep cavities / internal surfaces | 1 – 2° |
| High-gloss / mirror surfaces | 0.25 – 0.5° |
| Textured / grained surfaces | 1 – 3° (coarser texture = more draft) |
| Rib side walls | 0.5 – 1.5° |
| Boss outer side | 0.5 – 1.5° |
Gate & Runner System — Flow Cost and Balance
The gating system controls fill balance, weld line position, and the ability to achieve a short, low-pressure fill. Poor gate design leads to costly trial-and-error rework. Use these empirical starting points:
Runner Dimensions
- Main sprue diameter: 4–8 mm for small-to-mid parts; up to 10 mm for large parts
- Sub-runner diameter: 4–7 mm (slightly smaller than main sprue)
- Cold slug well: Volume ≥ 1–2× the connected runner cross-section — placed at sprue base, runner turns, and gate entry
- Key rule: The gate must always freeze before the runner — never the other way around
Gate Sizing by Type
| Wall Thickness T | Side Gate Depth h | Side Gate Width b | Pin Gate Diameter d | Gate Land l |
|---|---|---|---|---|
| < 0.8 mm | ≈ 0.5 mm | ≈ 1.0 mm | 0.8 – 1.3 mm | 1.0 mm |
| 0.8 – 1.5 mm | 0.6 – 0.8 mm | 1.0 – 1.5 mm | 0.8 – 1.5 mm | 1.0 – 1.2 mm |
| 1.5 – 2.5 mm | 0.8 – 1.2 mm | 1.5 – 2.5 mm | 1.0 – 1.8 mm | 1.0 – 1.5 mm |
| 2.5 – 4.0 mm | 1.2 – 2.0 mm | 2.5 – 4.0 mm | 1.5 – 2.2 mm | 1.2 – 1.8 mm |
| > 4.0 mm | 2.0 mm+ | 4.0 mm+ | 2.0 – 2.8 mm | 1.5 – 2.0 mm |
Gate land length should be kept short: 0.5–1.0 mm for thin-wall parts, up to 1.5 mm for thick-wall parts. Longer lands increase pressure drop and burn risk.
Cooling System — Where Cycle Time and Cost Are Won or Lost
Cooling accounts for 50–70% of the total injection molding cycle. Cutting cooling time by even 5 seconds on a 30-second cycle is a 17% output gain — a direct reduction in machine cost per part. Cooling design is not an afterthought; it is the primary cost-optimization variable after volume.
Cooling Channel Geometry
| Part Wall Thickness T | Channel Diameter d | Channel-to-Cavity Distance a | Channel Center-to-Center s |
|---|---|---|---|
| 1 – 2 mm | 6 – 8 mm | 10 – 15 mm | 30 – 40 mm |
| 2 – 4 mm | 8 – 10 mm | 15 – 20 mm | 40 – 60 mm |
| 4 – 6 mm | 10 – 12 mm | 18 – 25 mm | 50 – 70 mm |
| > 6 mm | 12 – 14 mm | 20 – 30 mm | 60 – 80 mm |
Hard clearance rules: channel-to-cavity ≥ 1.5–2 × wall; channel-to-channel ≥ 2 × channel diameter; channel-to-mold edge ≥ 8–10 mm; channel-to-ejector pins ≥ 5 mm.
Cooling Water Parameters
- Flow rate per circuit: 10–60 L/min; typical working range 15–30 L/min
- Flow velocity: 0.5–2.0 m/s — maintain Re ≥ 10,000 (turbulent) for effective heat transfer
- In/out temperature delta (ΔT): Keep ≤ 2–4°C; exceeding 5°C creates uneven cooling and warpage
- Coolant temperature vs. mold temperature: 5–10°C below target mold temperature
| Material | Typical Mold Temp (°C) | Flow / Circuit (L/min) | Reference Cooling Time (3 mm wall) |
|---|---|---|---|
| PP | 40 – 60 | 15 – 25 | 15 – 20 s |
| ABS | 50 – 70 | 20 – 30 | 18 – 25 s |
| PC | 80 – 110 | 20 – 30 | 25 – 35 s |
| PA (GF) | 60 – 90 | 20 – 30 | 20 – 30 s |
Cooling time scales with the square of wall thickness: a 2 mm wall with 10 s cooling requires ~40 s at 4 mm. Conformal (3D-printed) cooling circuits can reduce peak cavity temperatures by ~50% and warpage by up to 85% vs. conventional straight-drill channels — a major cost-saving upgrade for high-volume production.
Mold Steel Selection and Its Effect on Tooling Cost
Steel grade is the single biggest variable in mold build cost and service life. Choosing the wrong grade — too soft for an abrasive resin, or unnecessarily premium for a prototype mold — either drives up rework cost or wastes capital up front.
| Steel Grade | Type | Typical Hardness (HRC) | Best Used For |
|---|---|---|---|
| P20 (1.2311) | Pre-hardened | 28 – 32 | Medium-volume molds, general structural parts |
| 2738 | Pre-hardened (thick section) | 30 – 36 | Large molds, thick sections needing uniform hardness |
| S136 (stainless) | Martensitic stainless | 48 – 54 (work); 190–230 HB annealed | Mirror / optical / medical / food-contact molds |
| NAK80 | Age-hardened pre-hard | 37 – 43 (target 38–42) | High-gloss, fine texture, weld-repairable molds |
| H13 / 2344 | Hot-work tool steel | 44 – 50 (working range) | GF-filled resins, hot-runner zones, high-wear cores |
For high-volume programs running glass-fiber-reinforced materials, upgrading from P20 to H13 in the gate and core regions typically adds 15–25% to steel cost but prevents the early cavity erosion that triggers costly mid-production re-steel.
Processing Parameters That Affect Machine Cost
Machine time cost is a direct function of cycle time and shot utilization efficiency. Staying inside the optimal process window reduces rejects and keeps cycle times consistent.
Shot Utilization and Cushion
- Commodity resins (PP, ABS, PS): Use 20–80% of machine max shot volume
- Engineering resins (PC, PA, POM): Use 30–50% — these materials degrade faster if residence time is too long
- Cushion: Maintain 5–10% of shot stroke as forward cushion for consistent pack pressure
Key Process Temperatures
| Material | Drying | Mold Temp (°C) | Melt Temp (°C) | Back Pressure (MPa) |
|---|---|---|---|---|
| ABS | 80°C / 1.5 h | 45 – 80 | 190 – 235 | 9 – 18 |
| PC | 90–110°C / ≥2 h | 80 – 110 | 280 – 320 | 6 – 15 |
| PC/ABS | 80°C / 2–3 h | 60 – 80 | 250 – 280 | 5 – 12 |
As a rule of thumb, injection time is roughly 1/10 of cooling time. Clamping force can be estimated as: Clamp Force ≈ Melt Pressure × Projected Area × Safety Factor (1.1–1.3).
Ejection System — Cost Impact of Ejector Design
Poor ejector layout causes part distortion, white marks, and cycle-time padding from slow, careful open sequences. Ejector investment during mold design is cheap; fixing ejector problems during production is not.
- Ejector stroke: Full part clearance + 1–2 mm safety travel beyond part release
- Ejector pin placement: Preferably on rib backs, non-cosmetic zones, symmetric about part centroid
- Large flat thin-wall parts: Use stripper plate over pins — distributes force, eliminates white marks
- Ejector-to-waterline clearance: ≥ 3–5 mm; ejector-to-screw clearance: ≥ 3–5 mm
- Transparency / food parts: Air ejection preferred — no contact marks
What Affects Injection Molding Cost — Summary
- Tooling complexity: Sliders, lifters, unscrewing mechanisms add $2,000–$15,000+ to a mold build
- Material selection: PP/ABS are the most cost-effective; PC, PA66 GF, and specialty resins cost 2–4× more per kg and often require tighter process windows
- Cycle time: Governed primarily by wall thickness and cooling design; a 10-second reduction on a 35-second cycle = ~29% more parts per shift
- Production volume: Tooling cost amortizes across units — at 10,000 parts a $10,000 mold costs $1.00/part; at 100,000 it costs $0.10/part
- Part design (DFM): Thick walls, undercuts, zero draft, and inconsistent sections all increase cost through longer cycles, higher scrap, and more complex tooling
- Tolerances and surface finish: Commercial-grade tolerances (±0.25 mm) cost far less than precision-grade (±0.05 mm); mirror-finish molds (S136 steel) cost 30–50% more than general tooling
- Venting: Vent depth 0.02–0.05 mm, width 3–12 mm — under-vented molds burn parts and raise scrap rates
How to Reduce Injection Molding Cost
- Optimize wall thickness early: Use material-specific minimums (e.g., 1.2 mm for ABS) — oversized walls inflate material and cooling cost permanently
- Follow the rib/boss ratio rule: Rib thickness at 50–60% of wall prevents sink rework and tooling changes downstream
- Add draft from day one: 1° on standard surfaces; 2° on deep cores — eliminates the need for lifters or complex actions
- Right-size the gate: Use the wall-thickness table above as a starting point; oversized gates delay freeze-off and reduce balance in multi-cavity molds
- Design cooling in, not after: Channel diameter 8–10 mm, placed 15–20 mm from the cavity surface, cuts cycle time significantly vs. ad-hoc cooling
- Match steel grade to volume and material: Don’t use S136 for a 5,000-piece prototype run; don’t use P20 for a 1-million-piece GF-nylon program
- Maximize shot utilization: Running at 20–80% of machine shot capacity keeps residence time in range and machine size optimized
Ready to Get an Accurate Quote?
Topworks combines deep injection molding expertise with structured project management — so your next project lands on time, on spec, and on budget.

