Hardware Startups: Going from Prototype to Production Injection Molding
You have done it. That 3D-printed model in front of you? It is simply beautiful. It is adored by your beta testers. Pre-orders are coming in. However, this is where it becomes real; you have to produce thousands (possibly tens of thousands) of these things, and your trusty 3D printer is not going to get you through anymore.
Hello and welcome! You are about to enter one of the most trying periods when it comes to establishing a hardware startup, and that is the prototype to production process. And when your product has plastic components, then you are about to get to know injection molding very well.
The Reality Check that No One Tells You
I want to give you a picture. You are facing a manufacturer, and he is talking about tool steel grades and cavity pressure. The quote you have just been given? It is enough to make your coffee cold. 50 thousand dollars per mold? That is just one segment of your product?
The thing is, when you switch to injection molding, it is not only about larger figures. It is an altogether change in the way you think of your product. That smart snap-fit that fit so well in ABS filament? It may require complete redesigning to be molded. Your internal threads, which you were so proud of? Yeah, they will triple your tooling.
However, do not worry. All the successful hardware companies have gone through this. It is all about knowing what to expect and planning.
Realizing What Your True Position Is
Look realistically at your position before you begin to call manufacturers. Are you, in fact, ready to take on injection molding, or is it too soon?
The Numbers Game
The majority of manufacturers will not even take your call unless you are going to manufacture at least 10,000 pieces a year. Why? Since the economics of injection molding only makes sense in large volume. That costly mold we have talked about? It must amortize its cost over thousands of components to be cost-effective.
When you are considering smaller numbers, say 500 to 5,000, then you are in what I term the awkward middle. They are too many to be 3D printed and not enough to be injection molded. This is when bridge tooling comes to your rescue.
Design Maturity Counts
What has been your number of design iterations? When the response is less than five, then you are not yet ready to tool up to production. I have witnessed too many startups spend their budget on molds only to find that there is a serious design flaw after the first round of production.
Your design must be nailed. And I do mean *really* locked down. Each dimension, each tolerance, each material. Since after that steel is cut, the changes are costly. Really expensive.
The Bridge Tooling Strategy Which Really Works
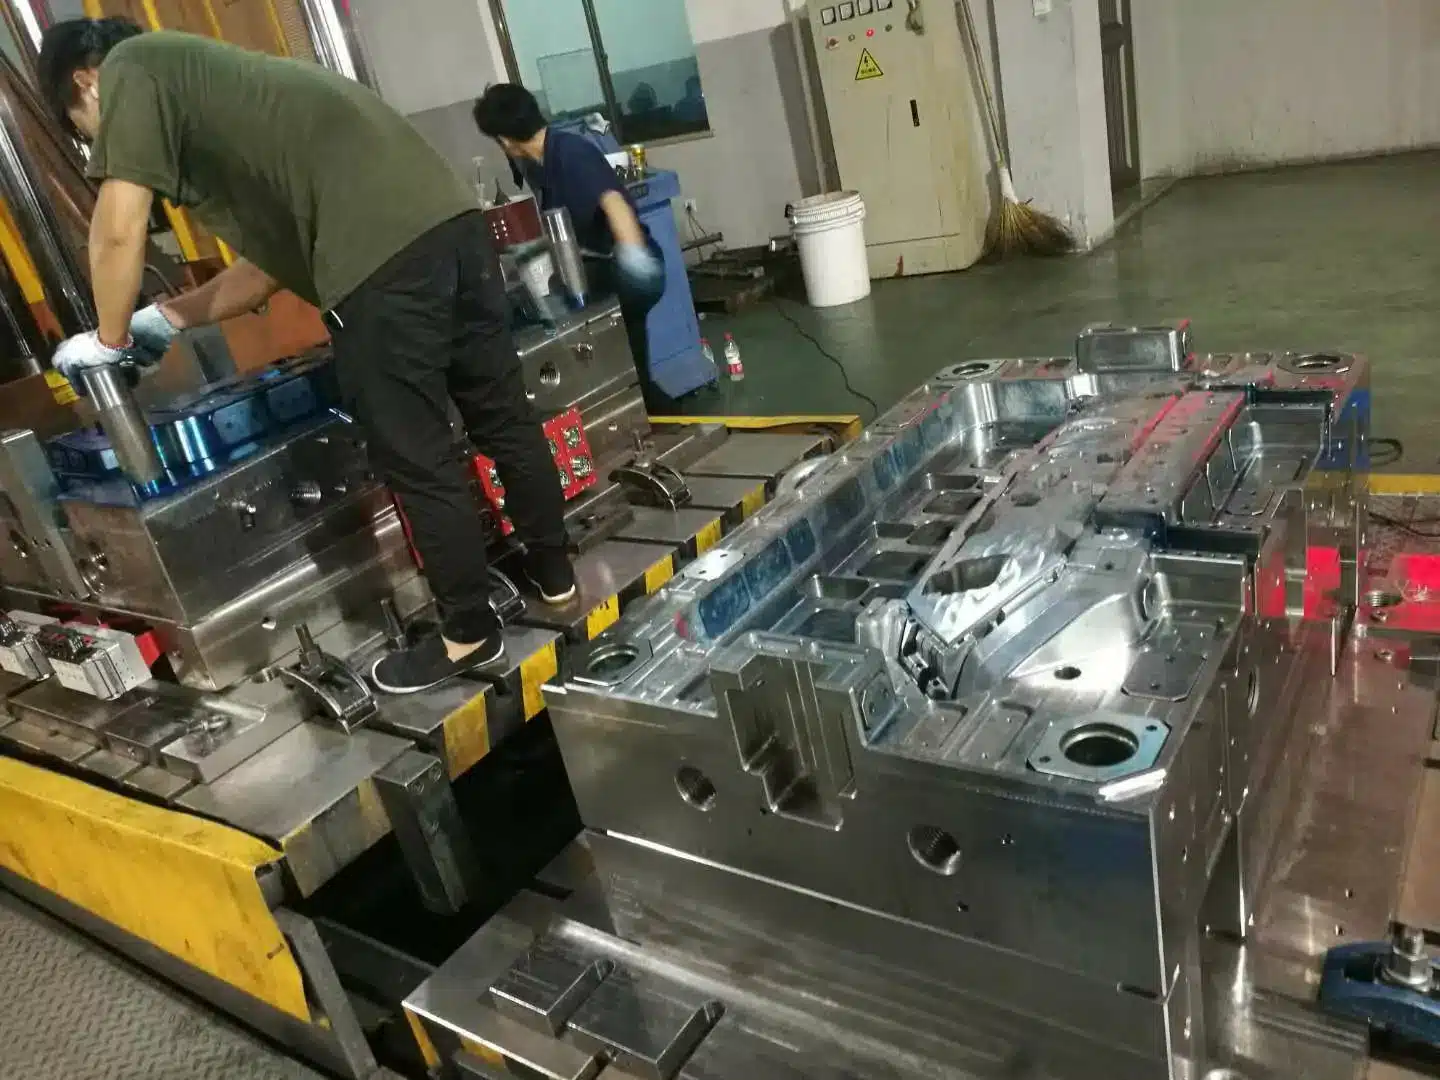
Bridge tooling—it is the training wheels of injection molding. They are cheaper molds (typically aluminum rather than steel) that allow you to make fairly small runs as you work out the bugs.
The Reason behind Aluminum Molds
Steel molds are constructed in a permanent manner. They are able to produce millions of parts without sweating. But aluminum molds? They can last possibly 10,000 to 50,000 parts before they wear out. That is usually ideal in the case of a startup.
The difference in cost is high. A steel production mold that would cost $50,000 would cost a bridge tool of aluminum between 10,000 and 15,000. Not only that, aluminum will be easier to machine; you will receive your molds quicker, sometimes in 2-3 weeks instead of 8-12 weeks with steel.
Switching Time
Bridge tooling starts to think about when:
- You have at least 100 beta units that have proved your design to be good.
- You have firm orders or strong interest in 1,000+ units.
- With 3D printing, your part cost is over 20 dollars.
- Delivery schedules are being murdered by lead times of 3D printed parts.
I have one startup that I worked with that employed the bridge tooling brilliantly. They made 5,000 of those with aluminum molds, learned that customers had three small design suggestions, and incorporated those changes into the steel molds that they rolled. Shrewd decision; the initial production runs covered the cost of both toolings.
Design to Manufacture (The Engineers Cry Part)
Do you remember that pretty prototype? It is time to get ugly. The concept of design for manufacturability (DFM) implies making compromises that you would never like to make. However, believe me, these modifications will save you both headache and funds in the future.
Draft Angle Dilemma
Each vertical wall of your part should have a little angle, 1-2 degrees, which allows it to emerge out of the mold. Does not seem like much, does it? However, it amounts. That minimal design that you adored? It is going to become a little more… practical.
The Wisdom of the Wall Thickness
The golden rule of injection molding is uniformity of wall thickness. Thick sections take longer to cool than thin ones, causing warping and sink marks and other imperfections. The walls should be 1-3mm depending on your material.
I have witnessed a startup attempt to shape a part with 6mm thick sections adjacent to 1mm ribs. The result? Potato chips-like parts. This compelled them to discard the whole mold and redo it.
The Undercut Underground
The nemesis of inexpensive and simple tooling are undercuts, or things that do not allow a part to eject directly out of the mold. Any undercut needs a side action (costly) or design work around (smart).
Be creative in this. Is that undercut something separate that snaps in? Is it possible to change the feature to mold in another direction? Simple solutions are sometimes the best.
Your Production Scaling Schedule (The Actual One)
Don’t forget those rosy schedules you have been presenting to the investors. This is what really occurs when you go to injection molding:
Design and DFM Review
This is the point of reality. You will upload your CAD files to manufacturers, and they will get back to you with a list of suggestions (which are more like demands). Allocate two months of to and fro on design changes.
Do not miss the DFM review. I have witnessed companies attempt to save time in this area only to have to spend months later cleaning up the mess. One of the startups went straight to DFM and came out with parts that technically fit the specifications but assembled like a jigsaw puzzle by someone who hates jigsaw puzzles.
Design and Approval of Tooling
Your manufacturer will make elaborate drawings of the mold. It is your final opportunity to detect problems prior to metal being cut. Review everything. Question everything. The strange thing in the design of the mold? Inquire about it.
Mold Fabrication
It is the waiting game. In the case of bridge tooling, you may wait 3-4 weeks. In the case of production steel molds, allow 8-12 weeks. Take this time and make the best of it; complete packaging, install quality control procedures, create assembly instructions.
Article Inspection 1(T1)
The truth moment. Your initial portions are dislodged off the tool. They will not be ideal. It will not be without problems. It is natural. Allow at least a couple of weeks in budgeting to make tweaks and adjustments.
The 6th and 7th months are pilot production runs. Start small. Run 100 parts. Check everything. Run 500 parts. Check again. The pilot runs demonstrate issues that will not be detected by sampling: such as parts that will hang in the mold every 50th time or gates that will wear out more quickly than anticipated.
The Money Talk (Somebody Has to Have It)
Let us be realistic. This is what a normal progression would entail:
Prototype (3D Printing):
- Price-per-part: 50-200 dollars
- Lead time: 1-5 days
- Quantity: 10-100 units
- Total investment: 5,000-20,000
Stage of Bridge Tooling:
- The cost of mold: 10,000-15,000 dollars per part
- Per part cost: 5-20 dollars
- Lead time: Tooling 3-4 weeks, parts 2-3 weeks
- Quantity: 1,000-10,000 units
- Total investment: 30,000-100,000
Production Tooling Level:
- Mold cost: 30,000-75,000 dollars per part
- Price per piece: 1-5 dollars
- Lead time: 8-12 weeks tooling and 3-4 weeks parts
- Quantity: 10,000 and above
- Total investment: 100,000-500,000
These figures are based on a relatively complex product that has 3-5 parts that are molded. Your experience will differ.
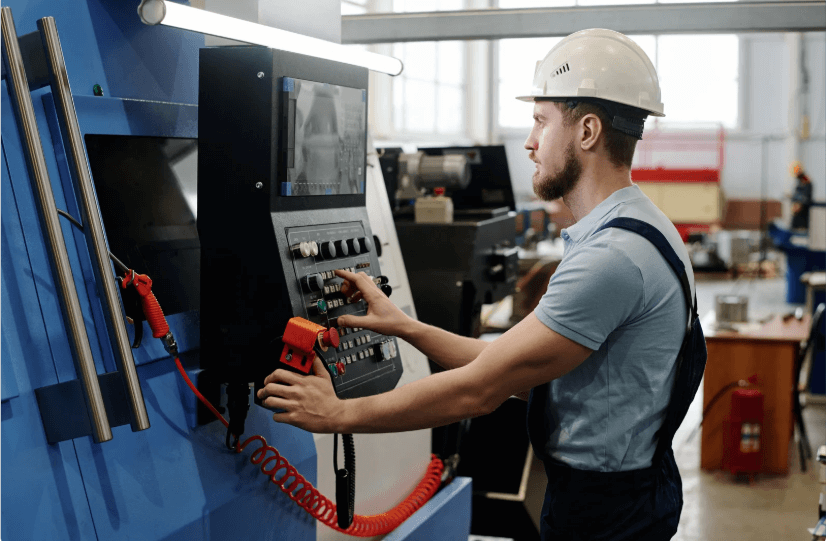
The Search for a Manufacturing Partner
Not every injection molding shop is the same. The shop that manufactures millions of bottle caps can be dreadful for your precision electronics enclosure.
What to Look For
These are the questions to start with:
- How large and complex are their parts?
- Have they dealt with your material?
- Are they capable of doing secondary operations (painting, plating, assembly)?
- How is their quality system?
- Are they going to collaborate with you in DFM?
The geography counts as well. Local manufacturers are easier to communicate with and visit the site. Offshore (hello, Shenzhen) is cheaper but needs more robust project management.
Red Flags to Watch Out
Flee in case a manufacturer:
- Will not give references.
- Makes unrealistic promises with respect to timelines.
- They are not able to describe their quality control process.
- Looks irritated with your questions.
- Quotes very low compared to others (quality costs money).
Making the Leap: Your 90-Day Action Plan
And now you are ready to pull the trigger? Your blueprint is as follows:
Phase 1 – 30 Days: Preparation
- Complete your design (no changes anymore).
- Obtain quotes from 5-7 manufacturers.
- Revise and include DFM feedback.
- Find financing to cover the tooling and first production run.
Days 31-60: Partner Selection
- Visit the best 3 manufacturers (as far as possible).
- Reference check.
- Bargain (payment schedules count).
- Sign agreements and begin tooling design.
Days 61-90: Project Launch
- Accept tooling design.
- Install quality control checklist.
- Schedule pilot production.
- Develop stock and supply chains.
The Success Stories No One Will Ever Tell You
What really works, I would like to tell you. One of the hardware startups that I have been advising began by using 3D printing on their initial 200 units. The customer feedback helped them to improve the design, and they put tooling in aluminum bridge to make 5,000 of them.
They only invested in steel production molds after the ones sold had been successful. They staged their investment, minimized risk, and enhanced their product at every stage. They are currently making 50,000 units a year in three SKUs.
The other firm did it differently. They found their most risky component (a complex housing with close tolerances) and jumped right to steel tooling on that part. All the rest remained in bridge tooling until volumes paid the cost. This was a combination of both risk and cost in a beautiful way.
Your Way Ahead
Prototyping to production is like a bridge that is being built in the middle of it. It does not have a perfect roadmap since each product is unique. However, the basics stay the same: be very careful to validate, start with little money, and stay as flexible as possible.
Be where you are. Provided you are still in the loop of design, retain 3D printing. In case of good pre-orders, consider bridge tooling. If you are sure about your volumes, design the production tooling but stagger the investment.
It is worth keeping in mind that all plastic you use every day has passed this way. Somebody discovered how to shape it effectively, efficiently, and in large quantities. You will also.
Making the switch between the prototype and production is not all about the manufacturing. It is about transforming yourself from a company that produces things to a company that produces things in large numbers. That is a paradigm change in thinking, operations, and financial planning.
And here is the fun part: when you break this code, you have created an actual barrier to entry. Whereas your rivals are fooling around with 3D printers, you will be delivering thousands of them. They may not be able to be consistent, but your injection-molded parts will.
Do it one step at a time. Cut steel after you make mistakes in aluminum. Listen to your manufacturers; they have seen all the ways to screw this up. And most importantly, do not forget that this painful transition is the competitive moat in disguise.
Your prototype showed that your idea is viable. It is high time to demonstrate that your business is functioning. That mold is only the start.

