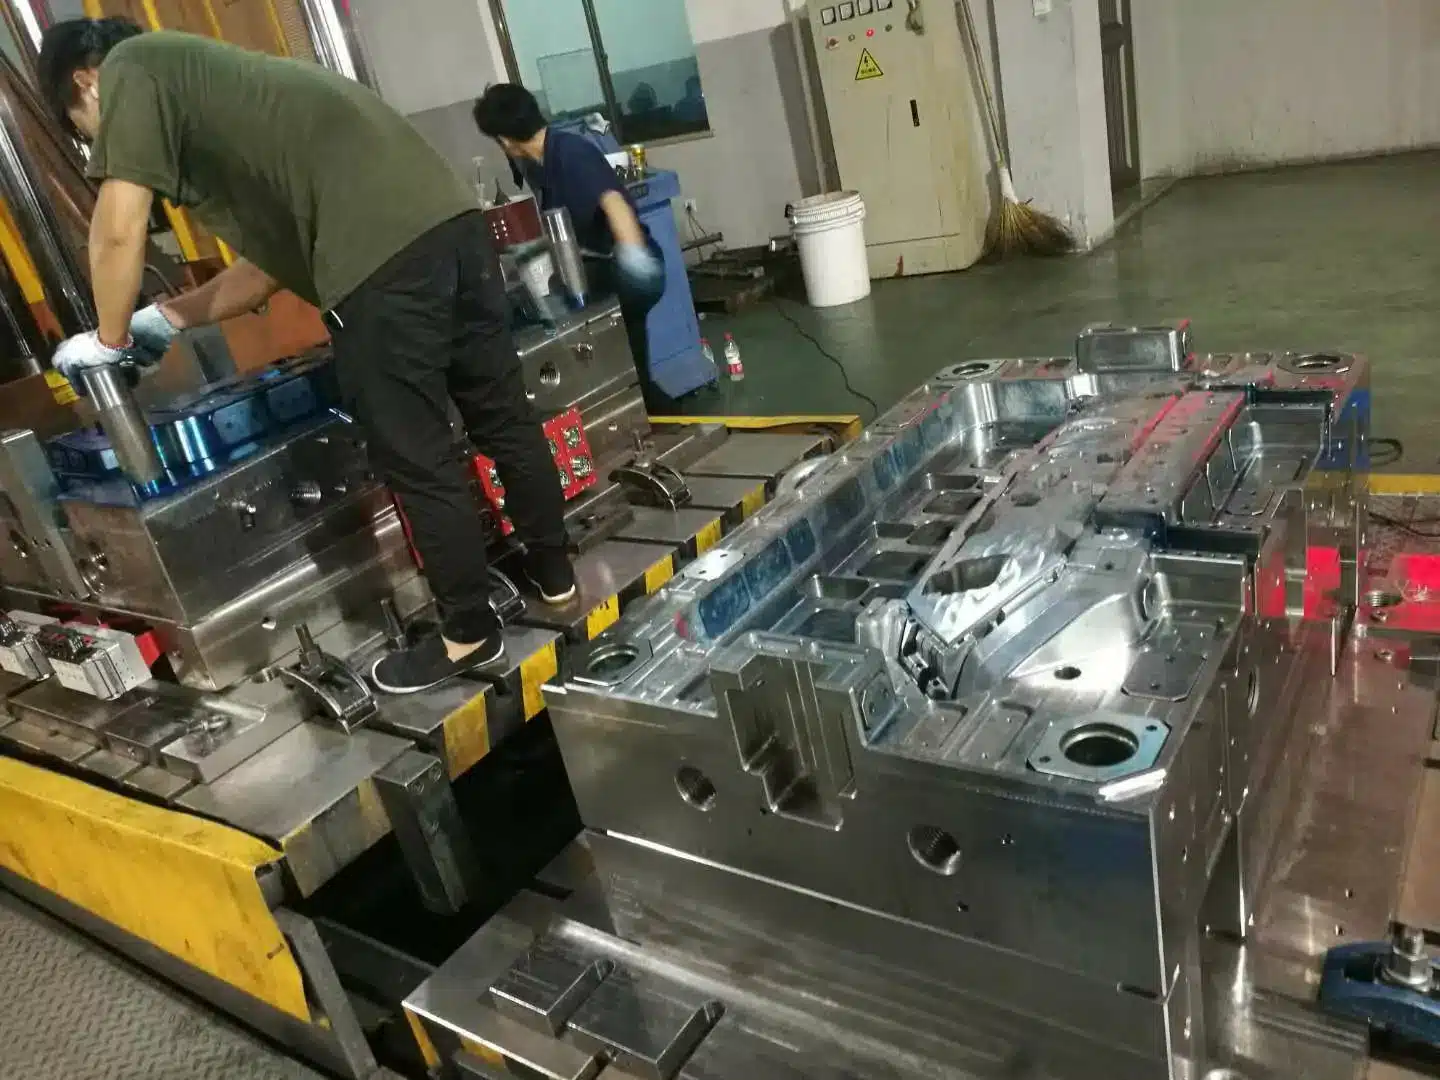

PAINT BUCKET MOULD GUIDE
Paint Bucket Mould: The Complete Buyer’s Guide
A buyer wanted a “cheap 20L bucket mould, single cavity.He reach out for his demand, and after some discuss, I found that his real volume needed a 2-cavity IML tool. He lost the deposit and three weeks. Most paint bucket mould mistakes trace back to one skipped decision. This guide walks through each one — capacity, cavity count, labeling, material, cost, and whether that second-hand tool is really a bargain.
What Is a Paint Bucket Mould, and What People Actually Call It
A paint bucket mould is an injection tool that shapes molten PP or HDPE into a bucket. Sounds simple. It isn’t. The tool also has to build in stacking strength, a leakproof rim, handle anchor points, and a surface smooth enough to print on.
Naming gets confusing fast. Buyers in different markets ask for the same tool under different words. If you’re comparing quotes, know that these all mean roughly the same thing.
Don’t get thrown when a supplier’s page says “pail mould” and yours says “bucket mould.” Match the specs, not the vocabulary.
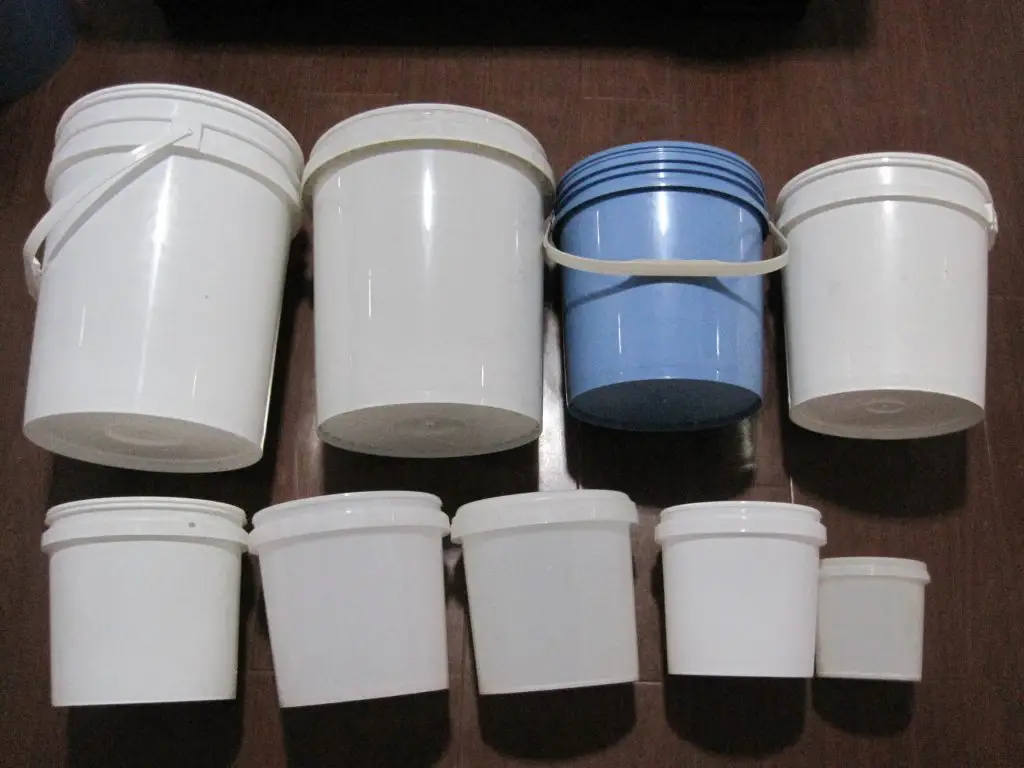
Bucket Capacity: From 1L to 25L, and 5-Gallon for US Buyers
Two markets, two languages. European, Australian, and most Asian buyers ask in liters. US buyers ask in gallons. A “5 gallon bucket mold” and a “20L bucket mould” describe roughly the same part. A 5-gallon pail holds close to 18.9 liters.
Most of our paint bucket moulds cover 1L to 25L. Common sizes: 1L, 3L, 5L, 10L, 18L, 20L. Bucket size drives almost everything downstream — press tonnage, cooling layout, cavity count, cycle time.
Small and large buckets aren’t the same project. A 1L container tool runs fast on a modest press. A 20L deep-draw bucket needs a bigger machine, a stronger ejection system, and much more attention to even cooling around the rim and base. Ask your supplier to quote the exact liter or gallon size. A quote for “a bucket mould” with no capacity is a guess.
Single-Cavity vs Multi-Cavity: Which One Fits Your Volume
This is where most buyers trip. It’s not about which is “better.” It’s about your annual volume and your cost-per-part target.
A single-cavity mould suits large buckets, custom shapes, new product launches, and low-to-medium volume. It’s easier to adjust, easier to maintain, more forgiving on complex designs. A multi-cavity mould suits high-volume runs where unit cost decides everything. It also demands a bigger press, tighter machining, and balanced runners so every cavity fills the same. Skip that balancing and one cavity short-shots while the others flash.
| Factor | Single-Cavity | Multi-Cavity |
|---|---|---|
| Best for | Large buckets, custom, low-medium volume | High-volume, cost-sensitive programs |
| Tooling cost | Lower upfront | Higher upfront |
| Cost per part | Higher | Lower at scale |
| Press tonnage | Smaller | Larger |
| Process stability | Easier to control | Needs balanced runners |
| Maintenance | Simpler | More critical |
Rule of thumb. Under 200k parts a year, single cavity usually wins. Past that, run the cost-per-part math before you commit. A 2-cavity tool costs more to build, but pays itself back fast at real production volume.
IML Paint Bucket Mould: When In-Mold Labeling Is Worth the Extra Cost
Short answer: IML pays off when the bucket is retail-facing and volume is high. Below that, standard printing wins.
IML means in-mold labeling. The label goes inside the mould before injection. During molding, plastic and label fuse into one finished part. No separate labeling step, no peeling, no wrinkles.
Robot places label → mould closes → injection → label fuses → part ejects, decorated
The finish looks premium. The branding won’t scrape off. Paint, coating, and food-grade brands push hard for it.
An IML bucket mould asks for higher precision than a plain one. It has to work with a label-placing robot, control static, hold cavity surface accuracy, and keep cycle time stable across every shot. Air venting has to be near-perfect. Trap air anywhere near the label and the finish is ruined. If your buckets carry a retail brand and volume is high, IML earns its cost. If you’re filling industrial pails nobody looks twice at, a standard mould with dry-offset printing is the smarter spend.
Family Mould: Bucket, Lid, and Handle as One Set
A finished paint bucket is three parts. Bucket, lid, handle. Here’s the mistake buyers make. They order the bucket mould from one shop, then source the lid mould somewhere else to shave cost.
Then the lid doesn’t seal.
Lid fit depends on rim accuracy, shrinkage control, and roundness. Two suppliers, two shrinkage assumptions, drifting snap fit. You end up with leaks, and neither shop takes the blame. Design the bucket and lid together — or at least at the same shop — and the fit is controlled from day one.
We build full sets — bucket, lid with tamper-evident features, handle. Pail-and-lid fitment gets checked at trial, so snap force meets packaging standards before the tool ships.
Material and Steel: PP vs HDPE, and Why BeCu Cooling Matters
Two material questions decide a paint bucket mould. What plastic the bucket is made of, and what steel the mould is cut from.
On resin, most paint buckets run PP or HDPE. PP gives better stiffness and a nicer surface for printing. HDPE handles impact and cold better. Resin choice shifts shrinkage. Tell your supplier the exact grade before design starts, not after. We’ve had projects where a late grade swap forced a re-cut on the core — days lost, money burned.
On steel, the choice tracks your production volume.
| Steel Grade | Hardness | Typical Mould Life | Best For |
|---|---|---|---|
| P20 / 718 | HRC 28–32 | 200k–300k shots | Low-medium volume |
| 718H | HRC 33–38 | 300k–500k shots | Medium-high volume |
| H13 (heat treated) | HRC 48–52 | 500k–1M+ shots | High volume, long runs |
Then cooling. A paint bucket is a deep-draw part. The core traps heat. Bad cooling means long cycles and warped rims. We insert beryllium copper (BeCu) at the core top and cavity bottom on high-speed tools. BeCu pulls heat out faster than steel. On the right part, that lifts daily output 15% to 25% [VERIFY]. Not a spec-sheet number. That’s the difference between a mould that pays for itself and one that bleeds cycle time for years.
How Much Does a Paint Bucket Mould Cost
Straight answer first. A 5L to 20L single-cavity paint bucket mould from a China manufacturer typically runs $10,000 to $18,000. Domestic US or EU tooling for the same part runs $28,000 to $55,000. Bare-bones China workshops quote $6,000 to $10,000, but that number hides real risk.
Price isn’t one figure. It’s a stack of choices.
| Cost Driver | What Pushes It Up |
|---|---|
| Cavity count | Each extra cavity adds steel, machining, and runner balancing |
| Steel grade | H13 with heat treatment costs more than P20 |
| Runner system | Hot runner adds cost over cold runner, saves material long-term |
| IML readiness | Robot compatibility and tighter tolerances raise the price |
| Cooling | BeCu inserts cost more but cut cycle time |
| Surface finish | High polish or texture adds finishing hours |
Here’s the trap. Squeezing the last dollar out of a tooling quote can double what the project actually costs you. Price is what you pay once. Cost is what you keep paying — for a mould that drifts on cycle time, throws scrap, or needs early maintenance. A tool that’s $4,000 cheaper but runs 3 seconds slower per cycle loses that saving inside a year of real production. Compare total cost of ownership, not the sticker.
Want a real number for your bucket? Send your capacity, resin grade, annual volume, and whether you need IML. We’ll reply with a tooling concept, lead time, and TCO notes — free DFM review within 24 hours.
New vs Second-Hand Mould: What the Lower Price Doesn’t Show
Scroll any sourcing platform and you’ll find second-hand paint bucket moulds for a fraction of new-tool cost. $1,000, $2,000, sometimes less. Tempting when budget is tight. Read the fine print first.
A used mould hides three things you can’t easily check. You don’t know how many shots are left in the steel. You don’t get a DFM record or a trial report. And a mould worn past its prime holds looser tolerances — lid fit and wall thickness start drifting on you.
Sometimes a second-hand tool is a real deal. A lightly-used mould from a cancelled program, sold with paperwork. Most of the time, though, you’re buying someone else’s worn-out problem. The mould that cost $2,000 up front can cost far more in scrap, downtime, and a lid that never quite seals.
If budget is the real constraint, a new single-cavity P20 tool often beats a mystery second-hand mould on total cost. Known steel. Fresh trial report. Full mould life ahead of you. Same TCO logic — lowest price and lowest cost are rarely the same tool.
Choosing a Paint Bucket Mould Manufacturer
Once capacity, cavity count, labeling, and material are settled, the last question is who builds it. Ask three things. What mould life is the tool designed for, and what steel backs that number? Is a DFM report and trial video included? And what’s actually in the quote — hot runner brand, spare parts, sampling — or are those extras billed later?
A supplier who answers those in writing is worth more than one who just quotes the lowest figure. If your supplier can’t answer any of those three, that’s your answer. For a full spec sheet, steel options, and current tooling prices, see our paint bucket mould manufacturer page.
Frequently Asked Questions
What’s the difference between a paint bucket mould and a paint pail mould?
Nothing meaningful. “Pail” and “bucket” describe the same container, and both moulds follow identical design logic. The terms shift by region and by supplier, so match the specs — capacity, cavity count, resin — rather than the word.
Can one mould produce both the bucket and the lid?
Usually they’re separate cavities, but designed together as a set. Building the bucket and lid in one design pass keeps shrinkage and rim tolerances matched, which is what makes the seal leakproof. Splitting them across two suppliers is where fit problems start.
Is HDPE or PP better for a paint bucket mould?
Depends on the job. PP gives better stiffness and a smoother surface for printing or IML. HDPE handles impact and cold weather better. Resin choice changes shrinkage, so confirm the exact grade before mould design begins.
How long does a paint bucket mould take to build?
A standard 5L to 20L paint bucket mould runs about 7 to 9 weeks. That covers DFM analysis, filling simulation, machining, and trial testing so the tool arrives ready for stable production, not still needing rework on your floor.
Is a second-hand paint bucket mould worth buying?
Only with paperwork. A used mould with a clear shot history and trial record can be a deal. Without it, you’re buying unknown remaining life and drifting tolerances. Often a new single-cavity tool wins on total cost.
What steel is used for high-volume paint bucket moulds?
718H or H13 for the cavity and core on high-volume runs. Both balance toughness and polishability. For millions of cycles, H13 with proper heat treatment holds parting-line integrity and surface finish far longer than pre-hardened steel.

