Click Run to simulate a precision engineering injection molding cycle.
[defect_diagnosis_sim]
[mold_motion_sim]
Injection Molding Process Simulator
Adjust parameters with sliders, see real-time effects on part quality and defects
Injection Molding Design Tips
The complete interactive reference for wall thickness, ribs, bosses, draft, undercuts, snap fits, and more
| ABS | 1.1 - 3.5 mm |
| Polycarbonate | 1.0 - 4.0 mm |
| Polypropylene | 0.8 - 3.8 mm |
| Nylon (PA) | 0.8 - 3.0 mm |
| Polyethylene | 0.8 - 5.0 mm |
| POM (Acetal) | 0.8 - 3.0 mm |
- Keep wall thickness uniform throughout the part
- Where thickness must change, use a 3:1 taper ratio
- Thinner walls = faster cooling = shorter cycle time
- Cooling time grows with the square of wall thickness
- Minimum wall depends on flow length and material
| Smooth surfaces | 1 - 2 deg per side |
| Textured surfaces | 1.5 deg + 1 deg per 0.025 mm texture depth |
| Ribs | 0.5 - 1 deg minimum |
| Bosses (inner) | 0.5 - 1 deg |
| Bosses (outer) | 0.5 - 1 deg |
| Deep draws (>50mm) | Add 0.5 deg extra |
- Inside radius: minimum 0.5x wall thickness (T)
- Outside radius: inside radius + wall thickness
- Ideal inside radius: 0.75x T (best flow)
- Never use zero radius - causes 3x stress concentration
- Consistent radii improve flow and reduce cycle time
- Too-large fillets create thick sections (same as boss issue)
- Fillet at parting line: use 0 or match parting to avoid flash
- Reorient the part to align features with pull direction
- Use snap fits with built-in deflection instead of rigid hooks
- Replace side holes with slots open to the parting line
- Use pass-through holes (core from both sides) instead of blind features
- Split the part into two simpler halves that assemble together
- Use shut-off (sliding shutoff) surfaces at parting line for through-holes
- Replace internal threads with external snap features
- Design windows as open on one edge instead of fully enclosed
- Taper cantilever beams (thicker at root) for even stress
- Add radius at the beam root to prevent stress cracking
- Check material allowable strain (varies 1-8% by resin)
- 45 deg entry angle for easy assembly, 90 deg retaining angle for permanence
- Lead-in chamfer on both mating parts for guided assembly
- Lugs/guides to prevent side-loading during engagement
- For repeated assembly, keep strain below 60% of max allowable
- Test prototypes - FEA alone misses creep and fatigue effects
| Polypropylene | Excellent Best choice, flexes millions of cycles |
| Polyethylene | Good Works but less durable than PP |
| Nylon | Limited Low cycle life, needs moisture |
| ABS | Poor Brittle hinge, cracks quickly |
| Polycarbonate | Poor Not suitable for living hinges |
| SPI Grade | Finish | Method | Draft needed | Use case |
|---|---|---|---|---|
| A-1 | Mirror / lens | Diamond buff | 1 deg min | Optical lenses, clear parts |
| A-3 | High gloss | Fine diamond buff | 1 deg min | Consumer electronics |
| B-1 | Semi-gloss | 600 grit paper | 1 deg min | General cosmetic |
| C-1 | Matte | 600 stone | 1.5 deg min | Interior parts |
| D-1 | Sandblast | Dry blast glass bead | 2 deg min | Grip surfaces |
| MT-xxxxx | Mold-Tech texture | Chemical etch | 1.5 deg + 1 deg/0.025mm depth | Leather grain, geometric patterns |
| Linear dimensions | ± 0.1 - 0.3 mm |
| Hole diameters | ± 0.05 - 0.1 mm |
| Flatness | 0.1 - 0.5 mm per 100 mm |
| Across parting line | Add ± 0.1 mm to above |
| Tight (achievable) | ± 0.05 mm with process control |
| High precision | ± 0.025 mm (specialized tooling) |
- Keep critical dimensions on one side of the parting line
- Use datums from features formed by the same mold half
- Expect higher variation across parting line (mold alignment)
- Shrinkage varies by direction (flow vs cross-flow)
- Glass-filled materials have lower, more consistent shrinkage
- Post-mold shrinkage continues for 24-48 hours
- Amorphous resins (ABS, PC) hold tighter tolerances than semi-crystalline (PP, PA)
- Test dimensional stability at expected service temperature
- Gate into the thickest section (pack thin from thick)
- Center gate for radially symmetric parts
- Place gate on non-cosmetic surface
- Gate into a wall to prevent jetting
- Position to push weld lines to non-critical areas
- Use flow simulation to predict weld line locations
- Consider multiple gates for long/complex parts
- Use fan or tab gates for flat parts to reduce stress
- Gate into thin sections (causes hesitation, short shots)
- Gate opposite a boss or pin (creates weak weld line)
- Gate on cosmetic or textured surfaces
- Gate near areas with tight tolerances (high stress zone)
- Place gate where it creates unbalanced flow
- Gate at the end of a long flow path (pressure drop)
- Ignore gate vestige in assembly areas
- Use too-small a gate (excessive shear, burn marks)
- Wall thickness uniform (or gradual 3:1 transitions)
- Ribs at 0.5-0.6x wall, height ≤ 3x wall, spaced ≥ 2x wall
- Bosses at 0.5-0.6x wall, OD = 2x screw diameter, cored 2/3 depth
- Draft of 1-2 deg on all faces (extra for texture)
- Fillets on all inside corners (R ≥ 0.5x T)
- No sharp external corners (minimum 0.5 mm radius)
- Undercuts minimized or eliminated where possible
- Snap fits within material strain limits
- Living hinges only in PP or PE, thickness 0.2-0.5 mm
- Text engraved (not raised) - easier to modify in mold
- Part can be ejected without distortion
- Clear parting line location identified and acceptable cosmetically
- Core and cavity split is feasible (no impossible geometry)
- Draft direction(s) defined for all features
- Side actions identified and justified (each adds cost)
- Ejector pin locations on non-cosmetic surfaces
- Venting locations planned (end of fill, weld lines)
- Cooling channel access for all thick areas
- Gate location(s) selected and cosmetically acceptable
- Runner type chosen (cold/hot) based on volume and material
- Mold steel grade matched to production volume
- Material shrinkage rate accounted for in all dimensions
- Anisotropic shrinkage considered (flow vs cross-flow direction)
- Drying requirements documented (temp, time, dew point)
- Chemical resistance verified for service environment
- UV stability confirmed if outdoor exposure
- Flame rating verified if required (UL 94 V-0, V-2, HB)
- Colorant compatibility confirmed with base resin
- Regrind ratio defined (typically 15-25% max)
- Material flow length verified against part geometry
- Weld line strength acceptable for structural requirements
- Minimize wall thickness (saves material and cycle time)
- Eliminate unnecessary undercuts (fewer side actions)
- Consolidate parts (fewer molds, less assembly)
- Design for auto-degating (submarine or hot-tip gates)
- Minimize post-mold operations (painting, printing, assembly)
- Use family molds for related small parts
- Design for multi-cavity tooling at target volumes
- Use standard mold base sizes when possible
- Consider insert molding to eliminate secondary fastening
- Reduce texture complexity on non-visible surfaces
- Design snap fits to replace screws and adhesives
- Specify loosest acceptable tolerances on non-critical dimensions
Designing Bosses for Injection Molding
Interactive reference: anatomy, boss types, screw details, defects, and material guidelines
| Boss wall (t) | 0.5 - 0.6 x T |
| OD | 2 x screw diameter |
| Max height | ≤ 3 x OD |
| Draft angle | 0.5 - 1 deg per side |
| Base fillet (R) | ≥ 0.25 x T |
| Coring depth | ≥ 2/3 boss height |
- →Pilot hole ID = screw major dia minus one thread depth
- →Thread engagement = 2x to 2.5x screw diameter
- →Add 0.5 mm chamfer at top for screw entry
- →Boss OD = 2x screw major diameter
- →Core the boss from below to eliminate thick sections
- →Hole ID = insert OD (press fit after insertion)
- →Boss OD = insert OD + 2x nominal wall
- →Allow 0.1-0.2 mm radial clearance for knurls
- →Insertion depth at least 1.5x insert length
- →Pre-placed metal inserts need uniform wall around them
- →Boss wall 0.6-0.8x T to resist insert expansion
- →Add undercuts or knurls on insert for retention
- Keep boss wall at 50-60% of nominal wall thickness
- Use gussets or ribs to reinforce tall bosses
- Core bosses from the underside (non-cosmetic surface)
- Add draft of 0.5-1 deg on inner and outer surfaces
- Place bosses away from external corners to ease flow
- Use a fillet radius at the base (min 0.25x T)
- Offset bosses from walls by at least 2x T
- Make boss wall equal to or thicker than the base wall
- Attach bosses directly flush to side walls (use a thin rib)
- Exceed 3x OD for unsupported boss height
- Forget to core - solid bosses always cause sink
- Place bosses too close together (min 2x OD center-to-center)
- Use sharp corners at the base (stress concentrators)
- Ignore mold draft - zero-draft bosses damage the tool
| Parameter | Recommended | Notes |
|---|---|---|
| Boss wall thickness | 0.5 - 0.6 x T | T = nominal part wall thickness |
| Boss OD | 2.0 x screw dia | 2.5x for glass-filled materials |
| Max height | ≤ 3 x OD | Use gussets above 2x OD |
| Draft angle | 0.5 - 1 deg per side | Both inner and outer surfaces |
| Base fillet radius | ≥ 0.25 x T | Larger radii improve flow and strength |
| Coring depth | ≥ 2/3 boss height | Core from non-cosmetic side |
| Rib / gusset thickness | 0.5 x T | Thicker ribs cause sink on opposite face |
| Boss-to-wall offset | ≥ 2 x T | Connect via rib if closer |
| Boss-to-boss spacing | ≥ 2 x OD c-t-c | Prevents merged thick sections |
Manufacturing Logic Simulator
Adjust parameters to find the optimal production method.
[cnc_dfm_guide]
Manufacturing Logic Simulator
Adjust quantity and design complexity to compare 3D Printing, CNC Machining, and Injection Molding.
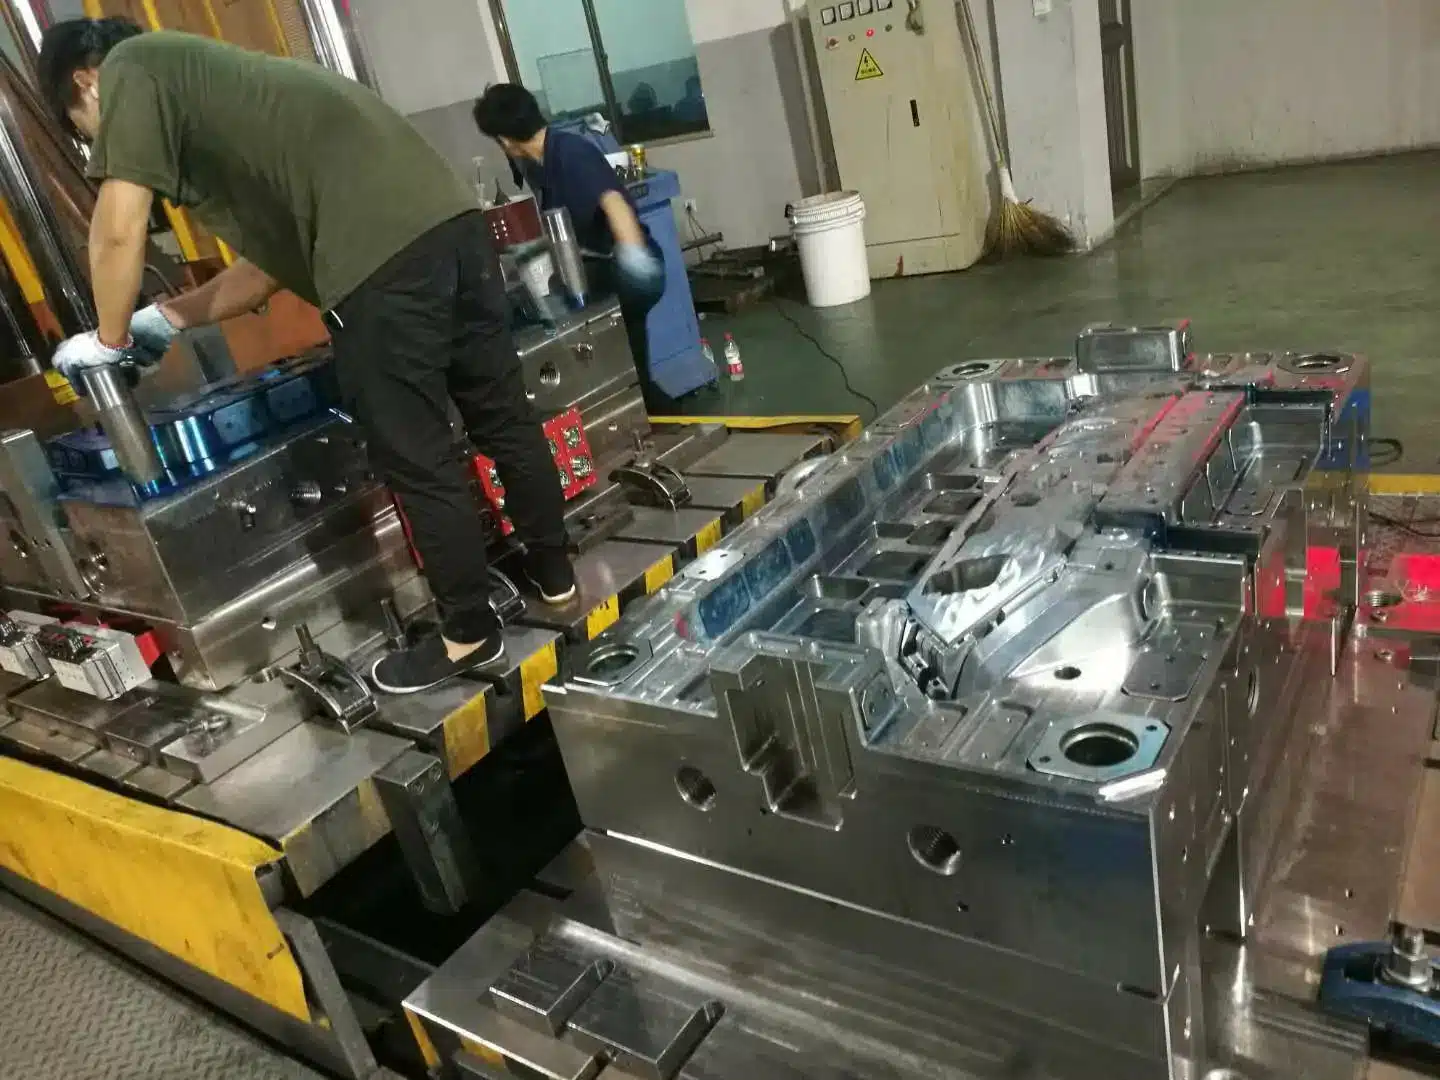
Injection Molding Process: A Complete Overview
Injection molding is a high-volume manufacturing process in which molten thermoplastic resin is injected under pressure into a precision mold cavity, then cooled and ejected as a finished part. It is widely used across automotive, consumer electronics, medical devices, and packaging industries.
The six stages of injection molding
- Clamping — The two mold halves are closed and locked by the clamping unit before injection begins.
- Injection — Molten resin is injected into the mold cavity at controlled speed and pressure.
- Dwelling (holding) — Holding pressure is maintained to compensate for material shrinkage.
- Cooling — The part solidifies inside the mold; cooling time depends on wall thickness and resin.
- Mold opening — The clamping unit retracts and the mold halves separate.
- Ejection — Ejector pins push the finished part out of the cavity; the cycle repeats.

