Injection Molding Development Guide
Complete roadmap for plastic part buyers
Define Requirements
Establish clear specifications for your part’s function, environment, and performance needs.
- Function & performance specs
- Operating environment
- Volume projections
- Budget parameters
Design for Manufacturing
Optimize your design for injection molding while maintaining functionality.
- Uniform wall thickness
- Proper draft angles
- Minimize undercuts
- Consider parting line
Material Selection
Choose the optimal plastic material based on performance and cost requirements.
- ABS for impact resistance
- PC for strength & clarity
- PP for chemical resistance
- PA for precision parts
Prototyping Strategy
Validate design through 3D printing and soft tooling before full production.
- 3D print for fit/form
- Soft tooling for function
- Material property testing
- Design iteration
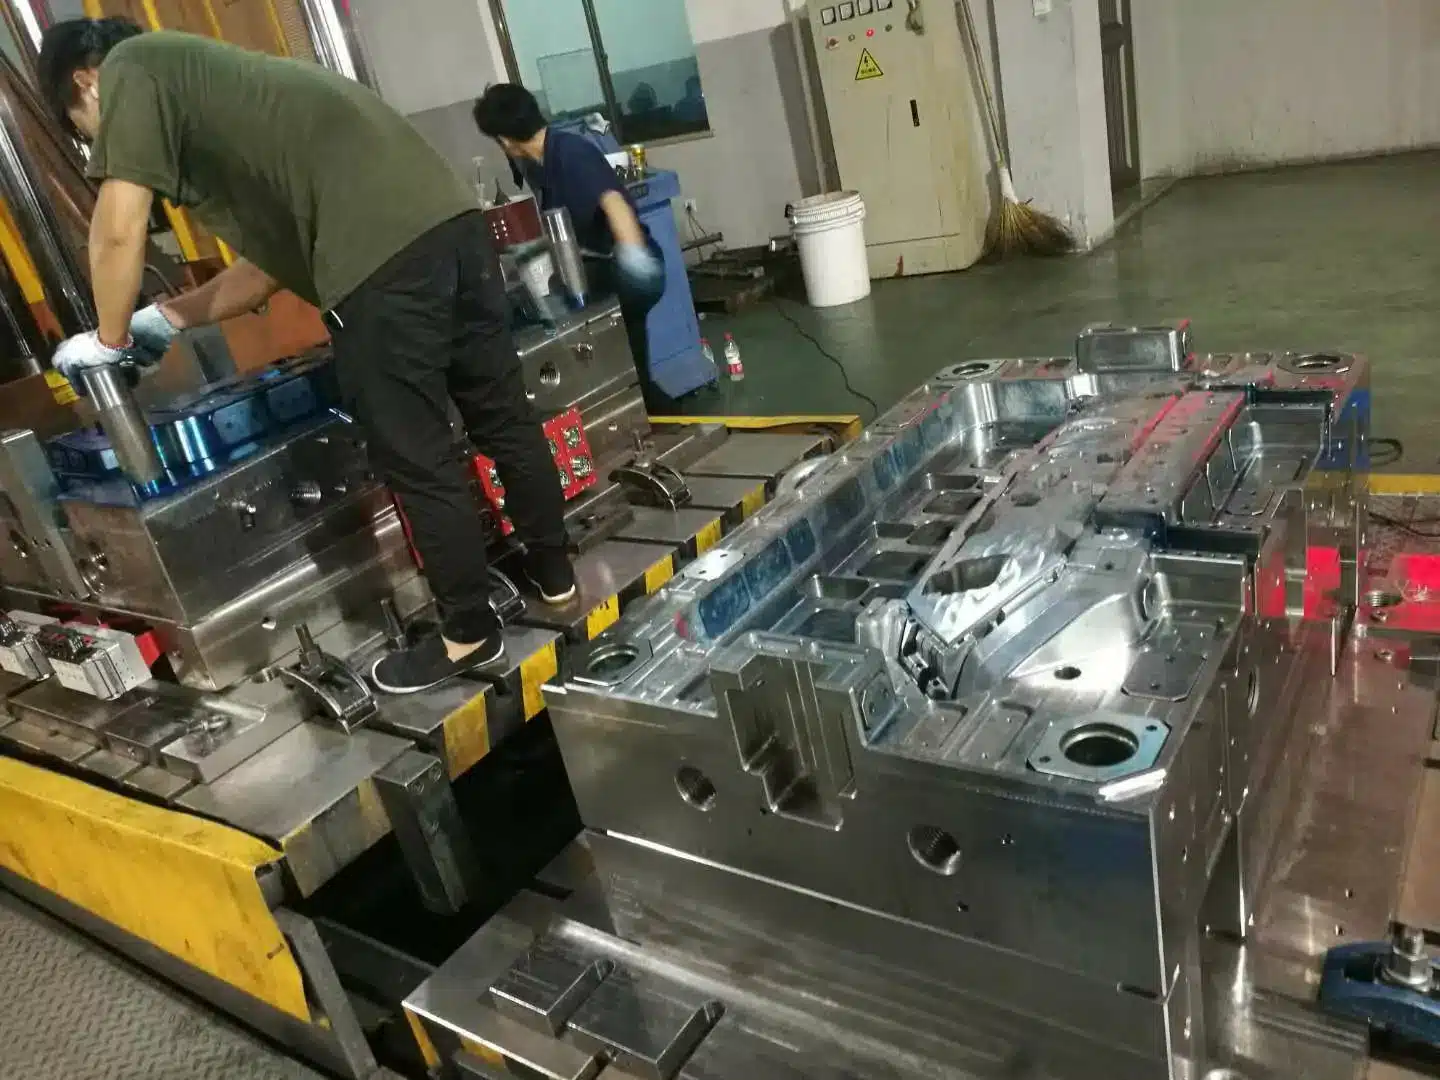
Supplier Selection
Choose qualified molders based on experience, capabilities, and quality systems.
- Industry experience
- Quality certifications
- Equipment capabilities
- Geographic considerations
Production Launch
Execute first article inspection and establish quality control processes.
- First article inspection
- Process optimization
- Quality planning
- Supply chain setup
Development Timeline
Prototype
Selection
Build
& Validation
Ramp-up
3D Prototyping
Per prototype, 1-3 day turnaround
Soft Tooling
Limited runs, 4-8 week lead time
Production Tooling
Based on complexity and cavity count
Success Tips
Design Smart
Uniform wall thickness and proper draft angles reduce tooling costs and improve part quality.
Prototype Early
Test fit, form, and function before committing to expensive production tooling.
Choose Partners Wisely
Select molders with relevant experience and proper quality certifications.
Plan for Success
Build realistic timelines and budgets – rushing leads to costly mistakes.

